

Edit images using text instructions with Wan2.7, 2.6, and 2.5 models.
The Wan image editing model series supports multi-image input and output. You can use text instructions to perform tasks such as image editing, multi-image fusion, subject feature preservation, and object detection and segmentation.
This example shows how to use the
Response example
Provide images in the following ways:
This method is only supported by the SDK. Curl requests require a public URL or Base64 encoding.
The parameters are
The parameter is
The parameter is
You can use the
For information about input and output parameters, see Wan - Image Generation and Editing (for wan2.7-image and wan2.6-image) and Wan - General Image Editing 2.5 API Reference.
Getting started
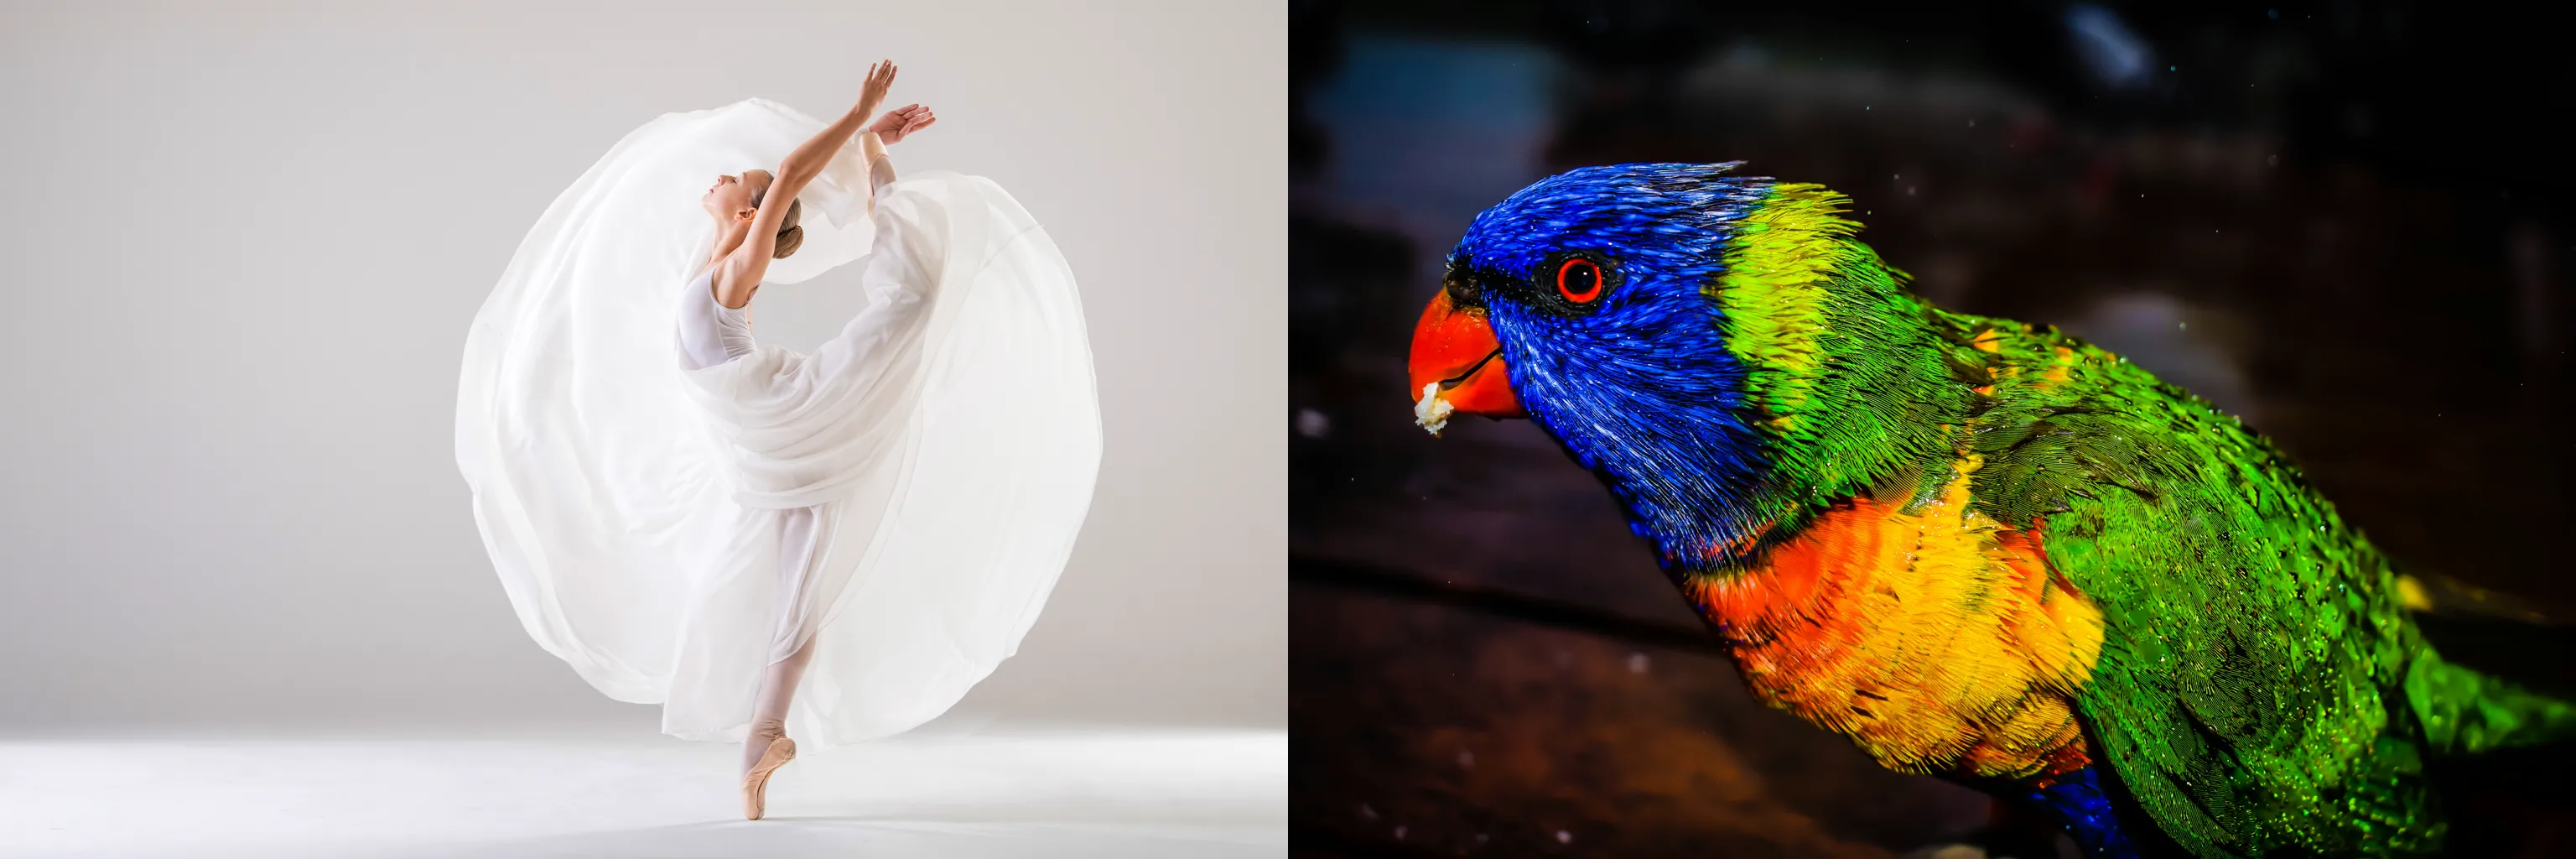
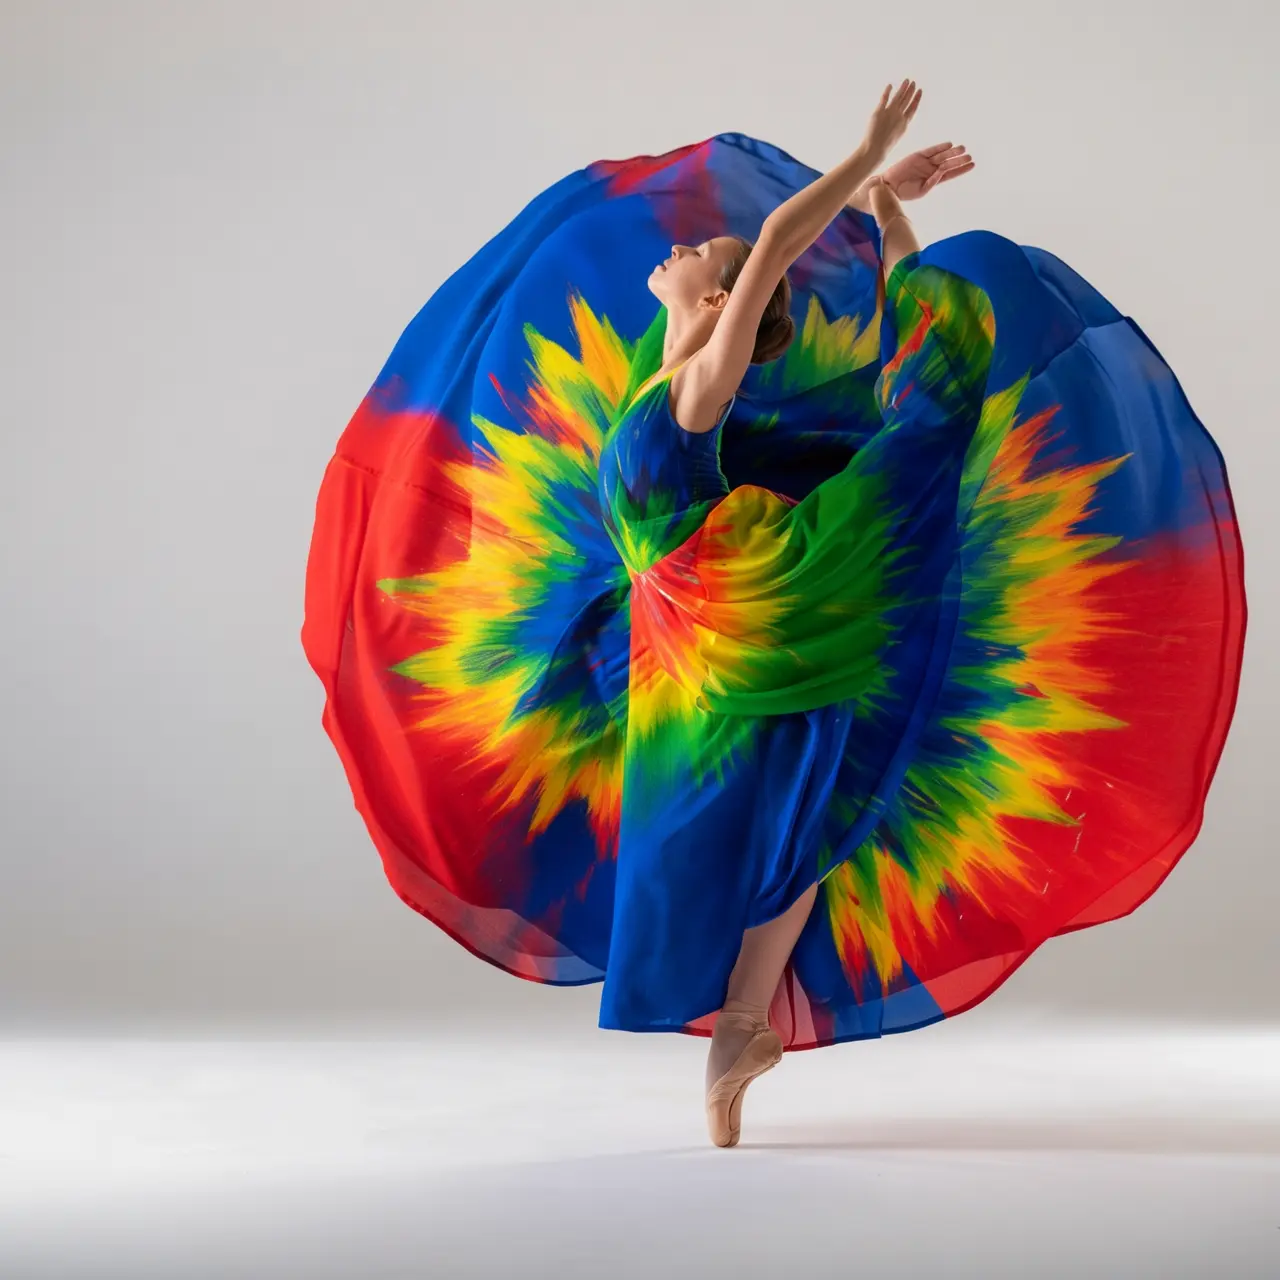
This example shows how to use the wan2.7-image-pro model to generate an edited image based on two input images and a prompt.
Prompt: Spray the graffiti from image 2 onto the car in image 1
| Input image 1 | Input image 2 | Output image (wan2.7-image-pro) |
|---|---|---|
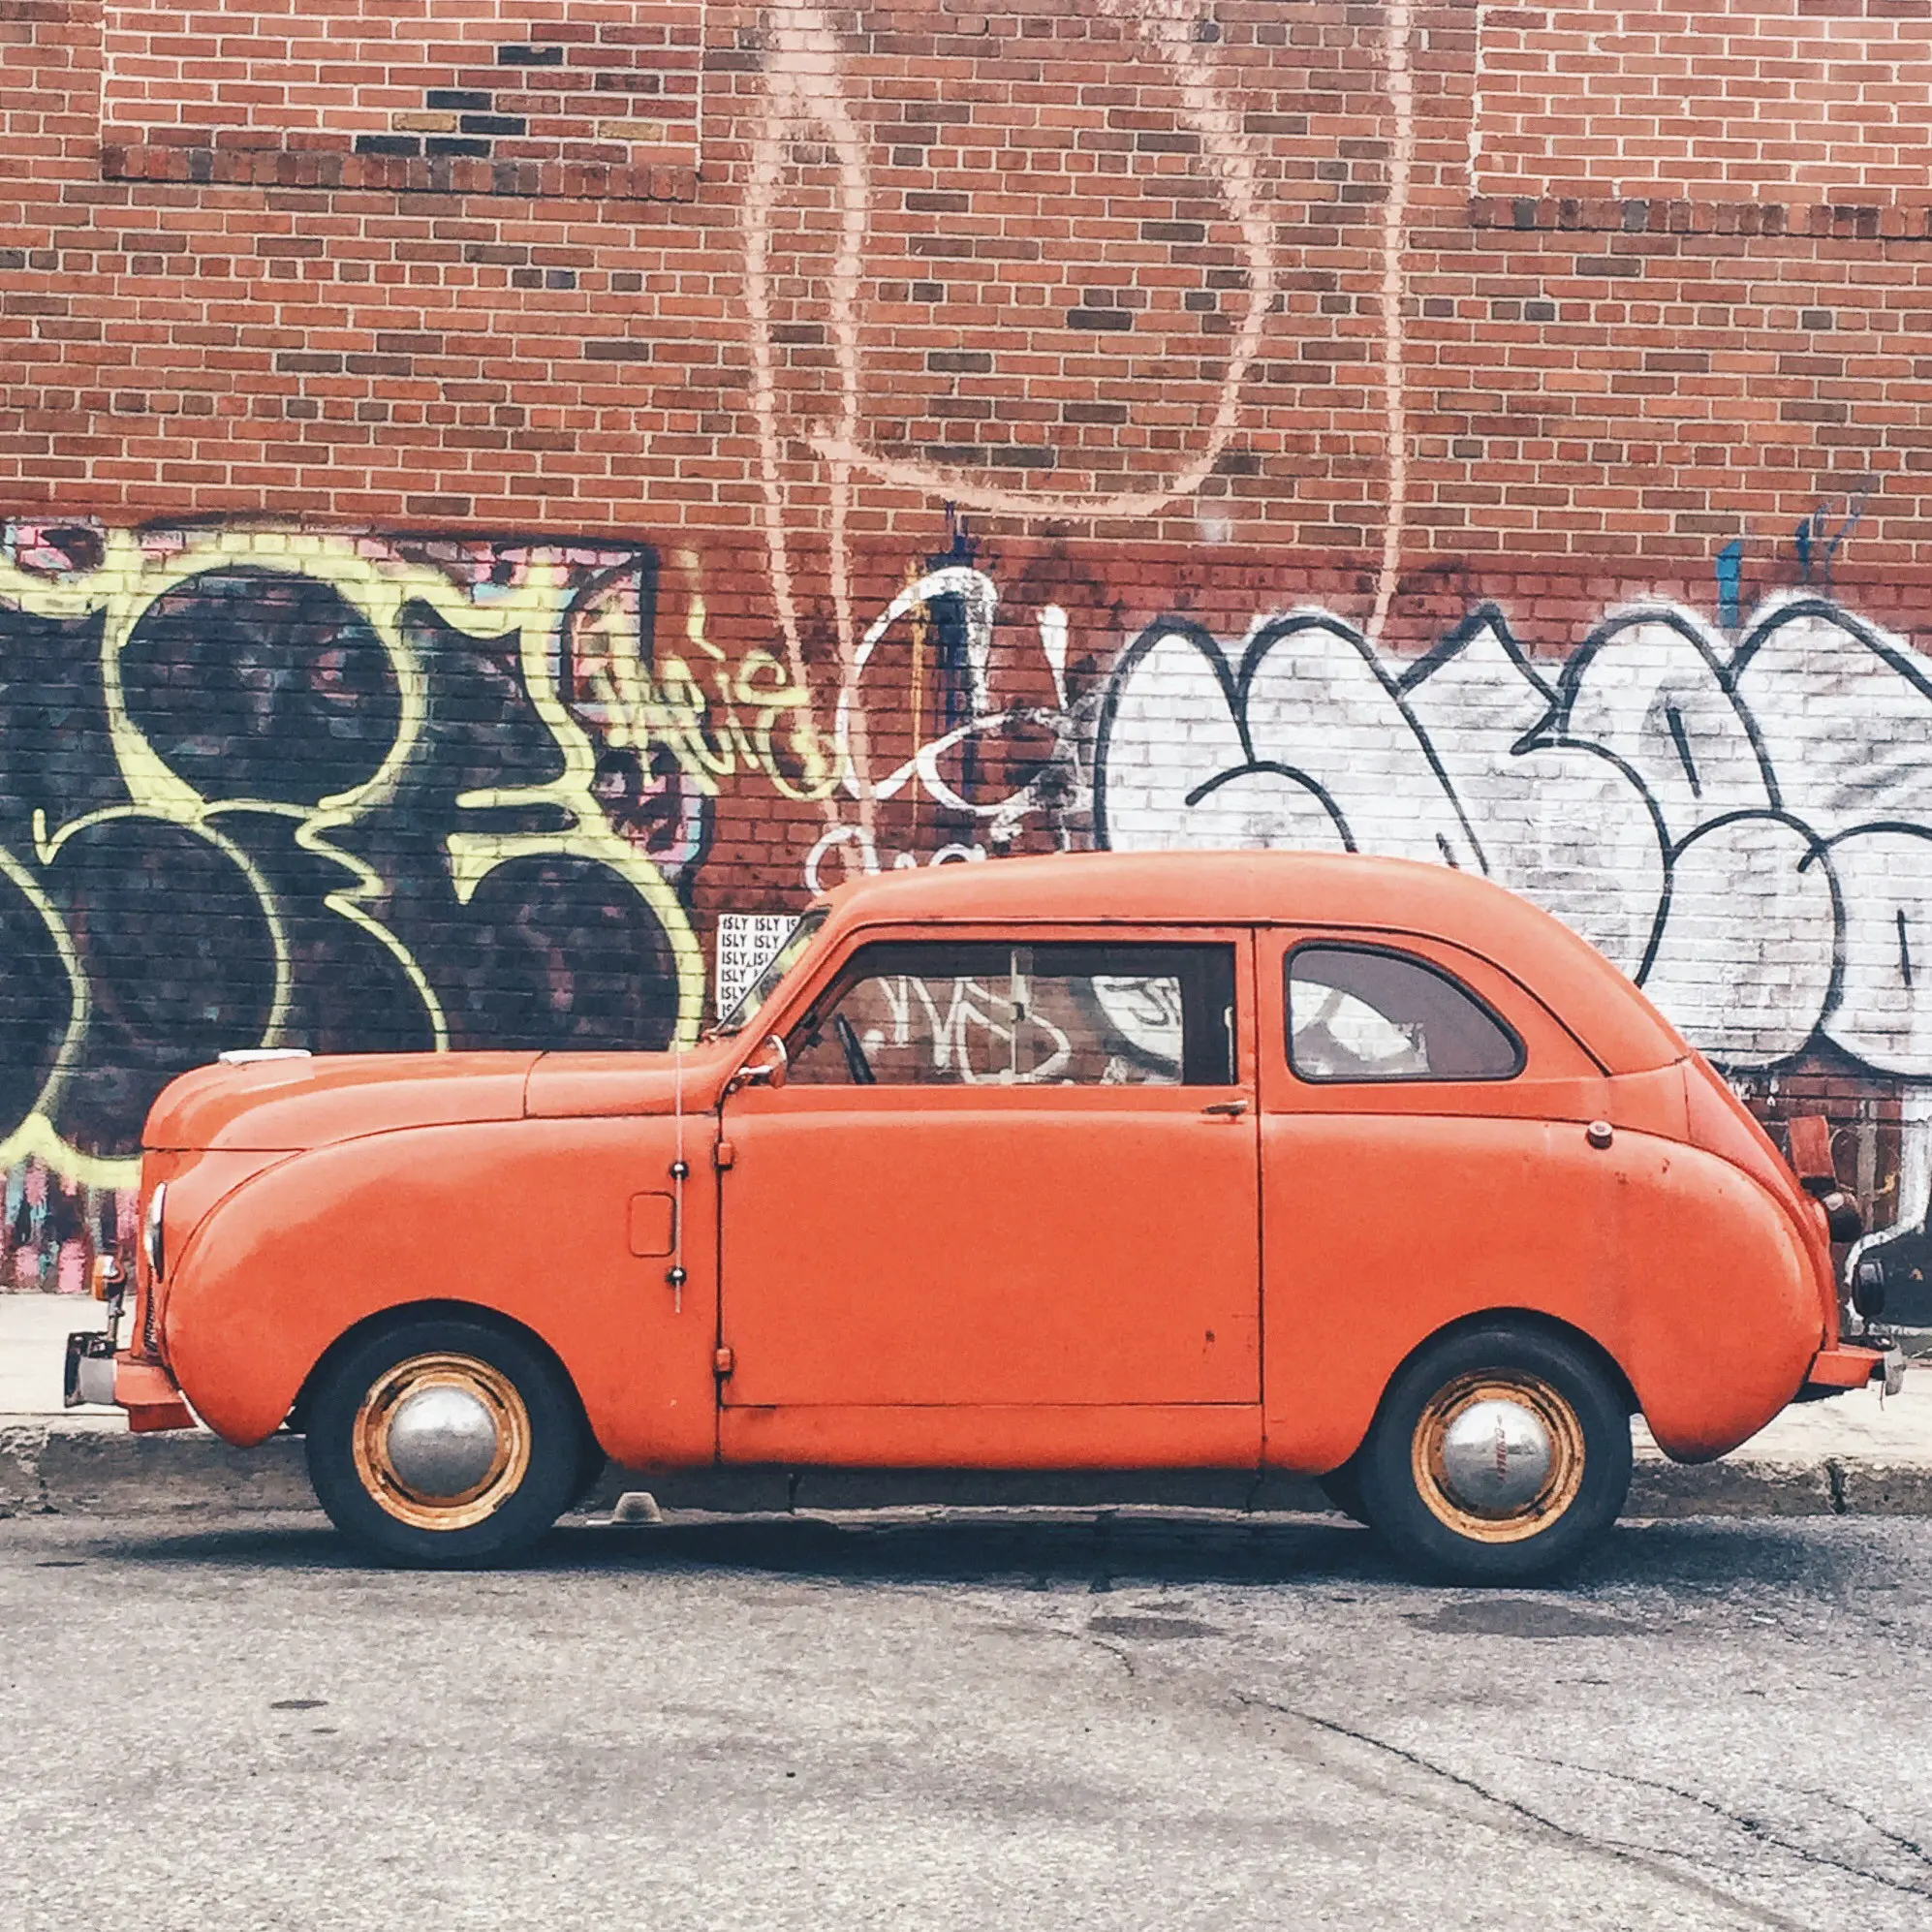 | 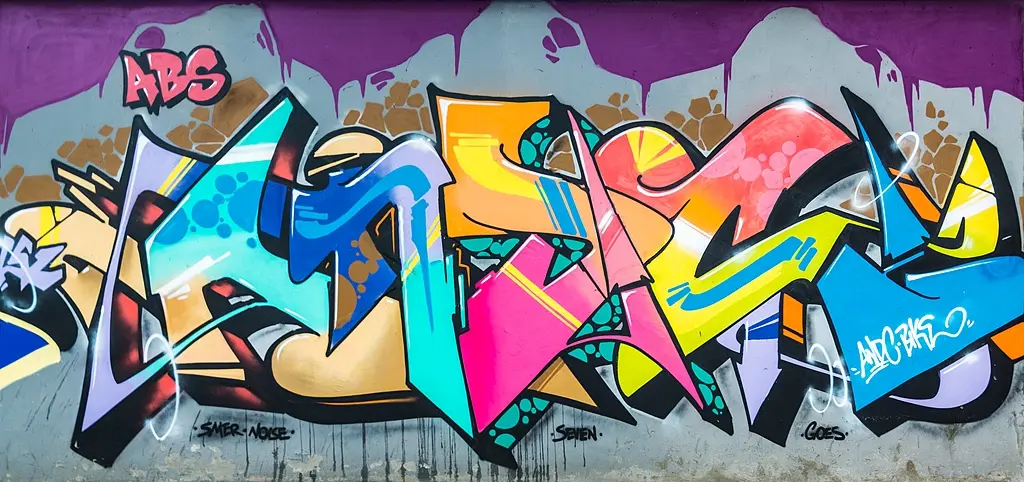 | 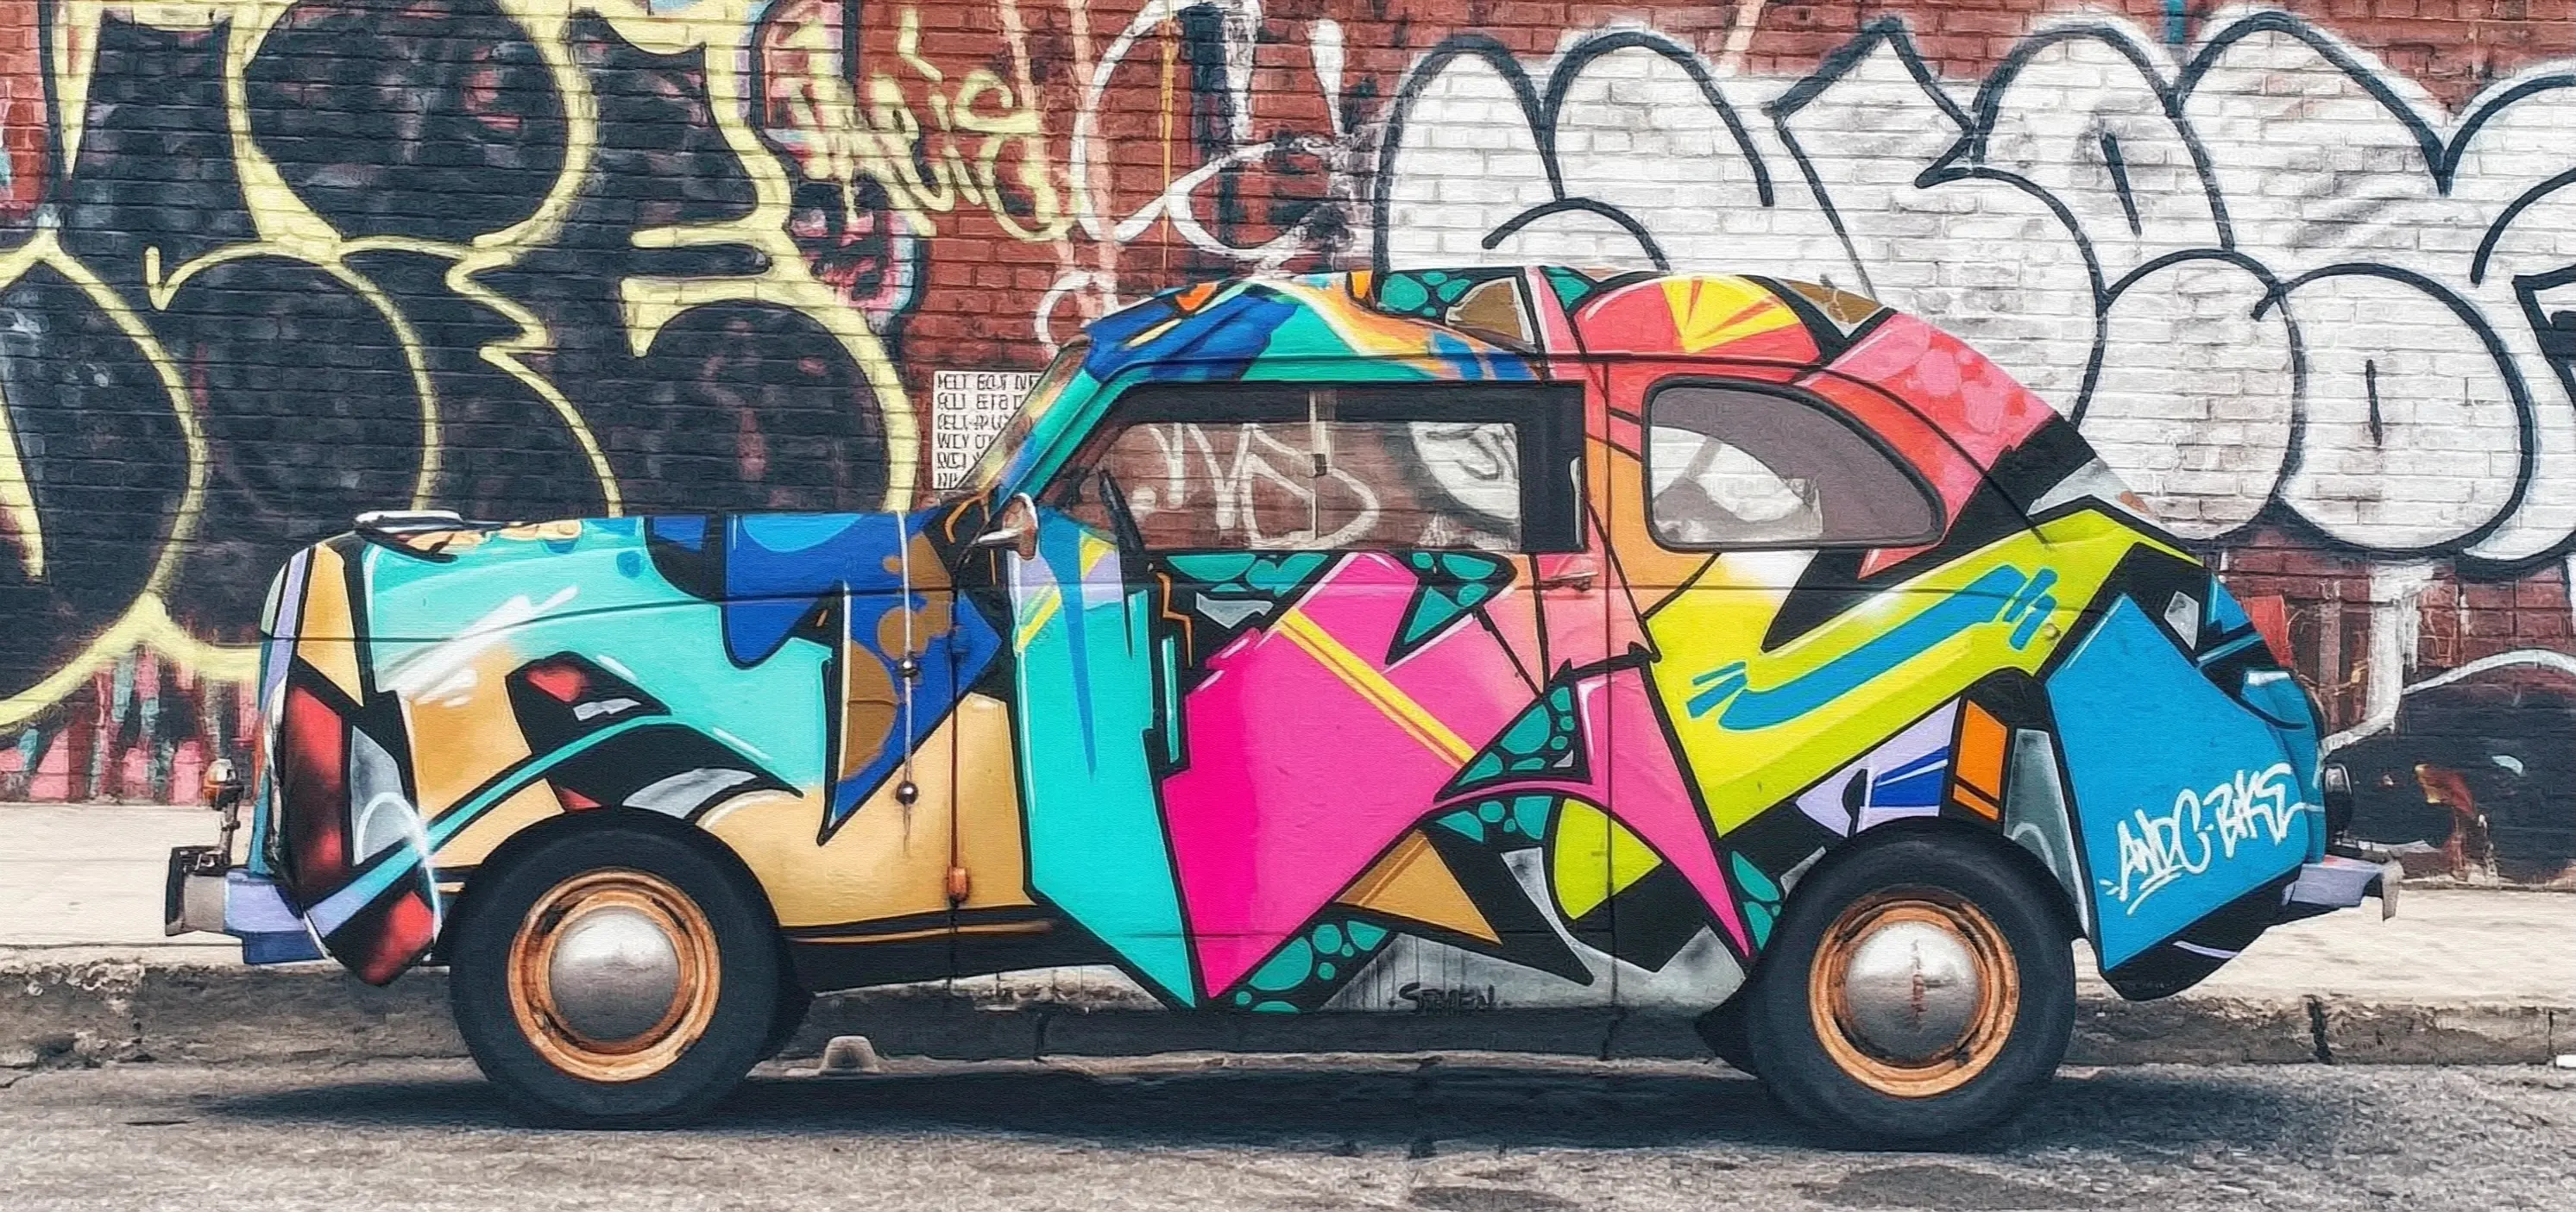 |
- Synchronous call
- Asynchronous call
Important Ensure that your DashScope Python SDK is version
1.25.15 or later, and your DashScope Java SDK is version 2.22.13 or later.Full JSON response
Full JSON response
View wan2.5-i2i-preview call examples
View wan2.5-i2i-preview call examples
The wan2.5-i2i-preview model uses different API endpoints and parameter formats.
Synchronous call (wan2.5)
Important Make sure your DashScope Python SDK version is at least
1.25.2 and your DashScope Java SDK version is at least 2.22.2.Asynchronous call (wan2.5)
Important Make sure your DashScope Python SDK version is at least
1.25.2 and your DashScope Java SDK version is at least 2.22.2.Demonstration
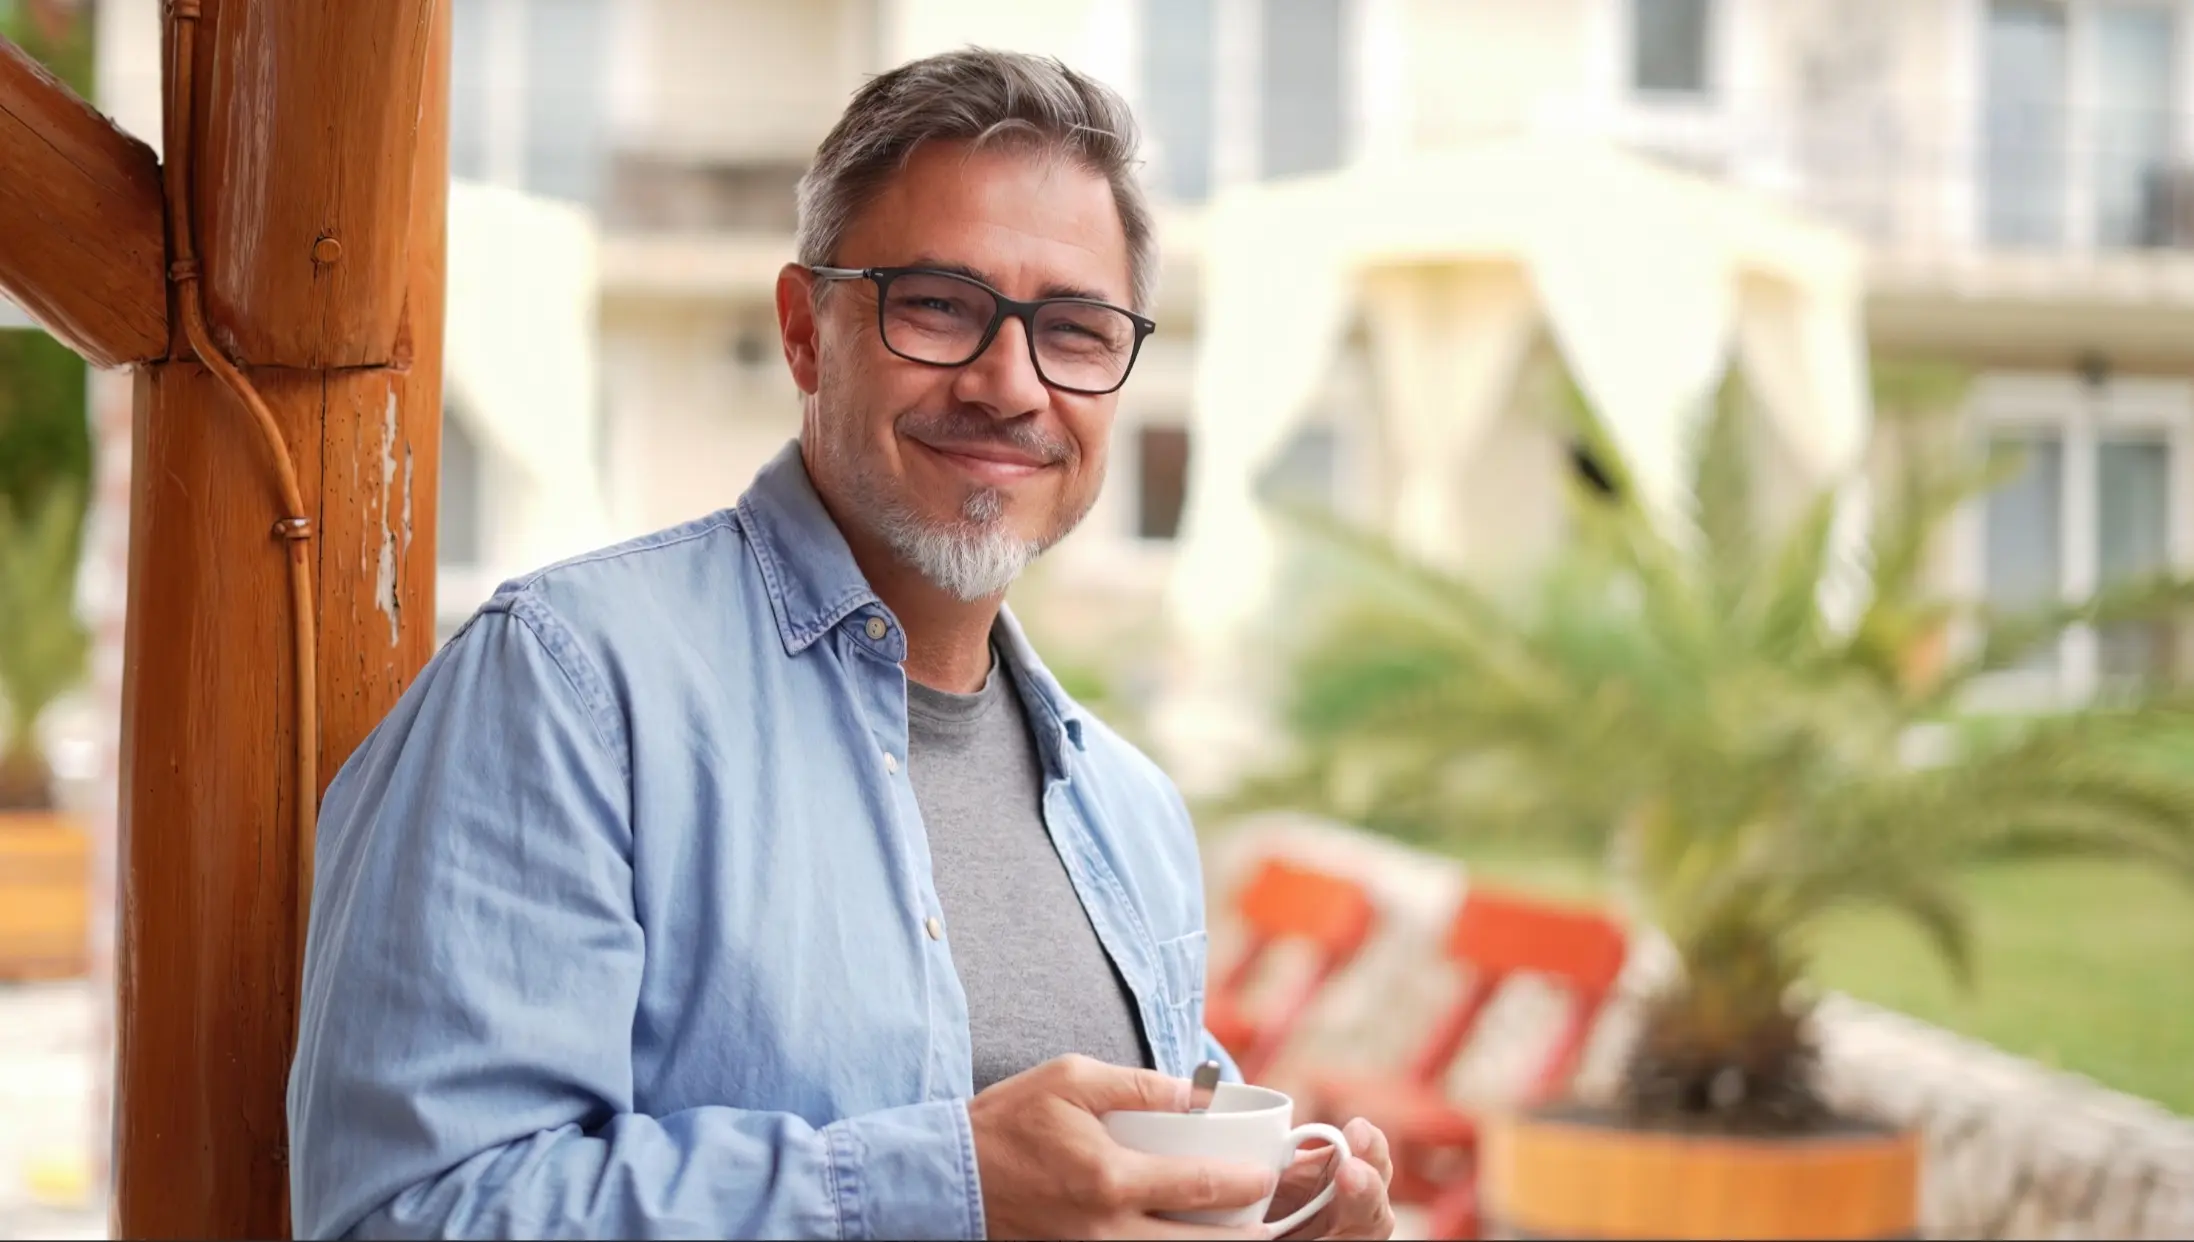
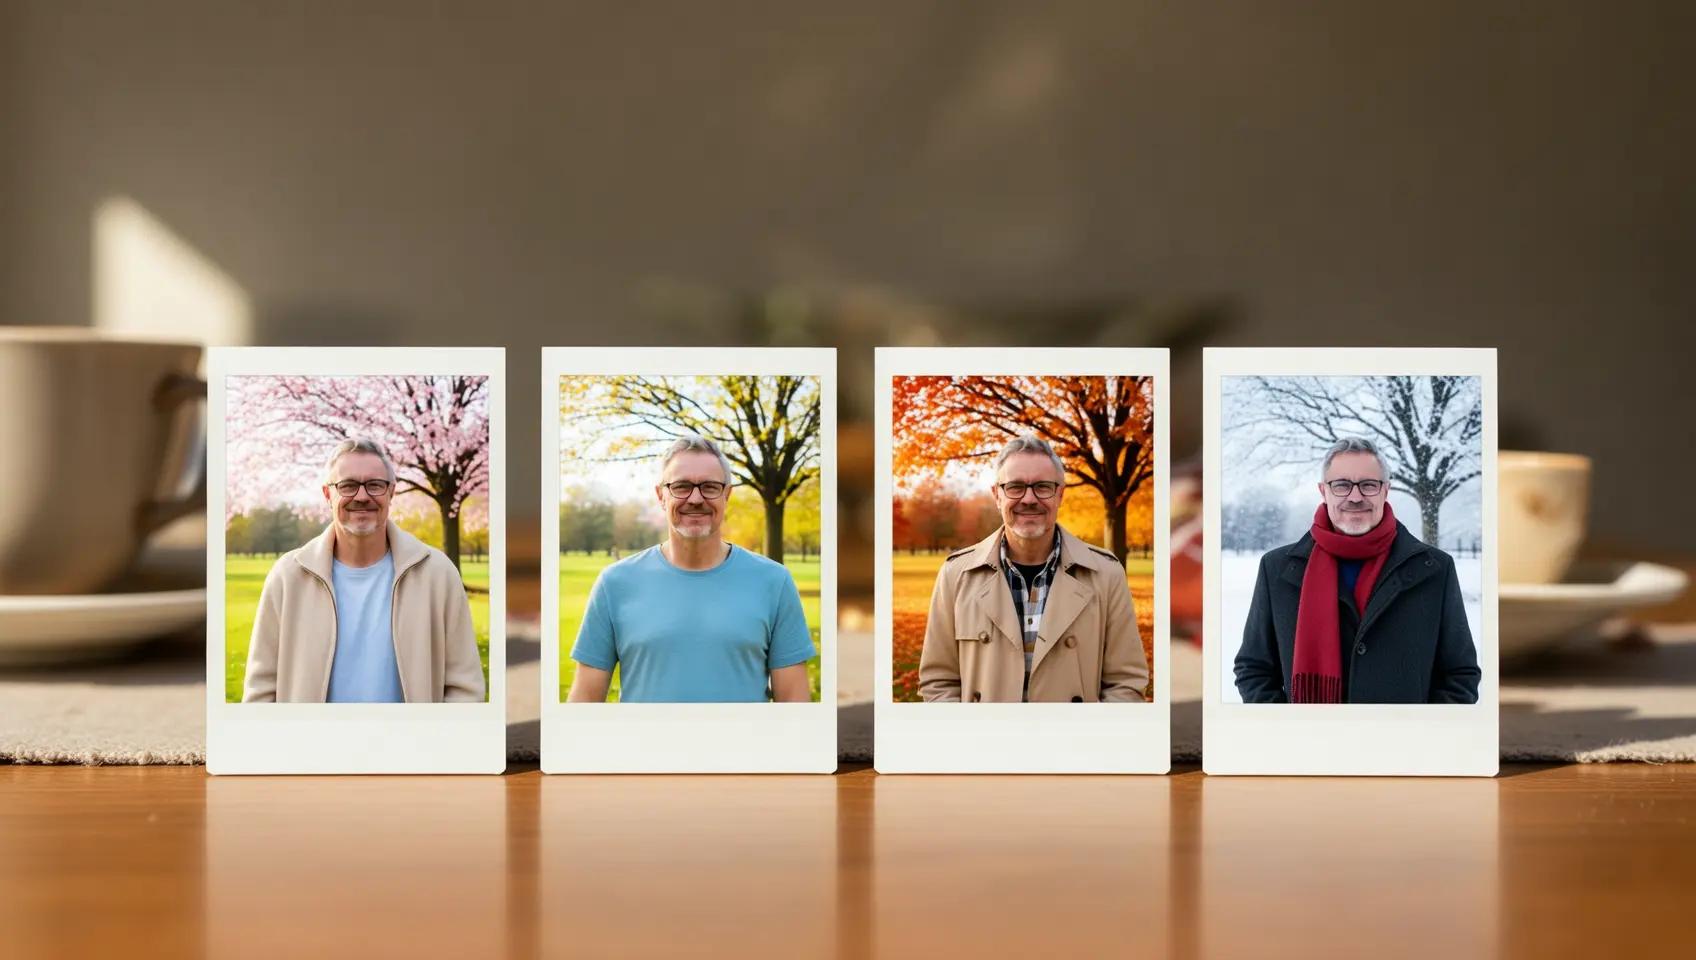
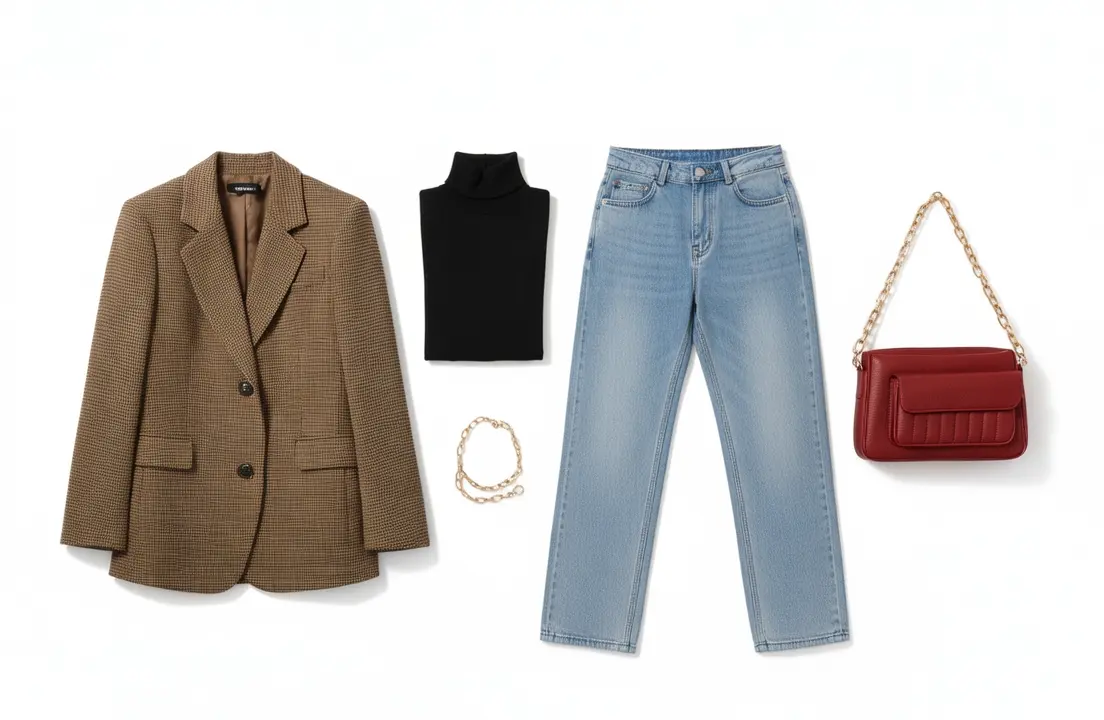
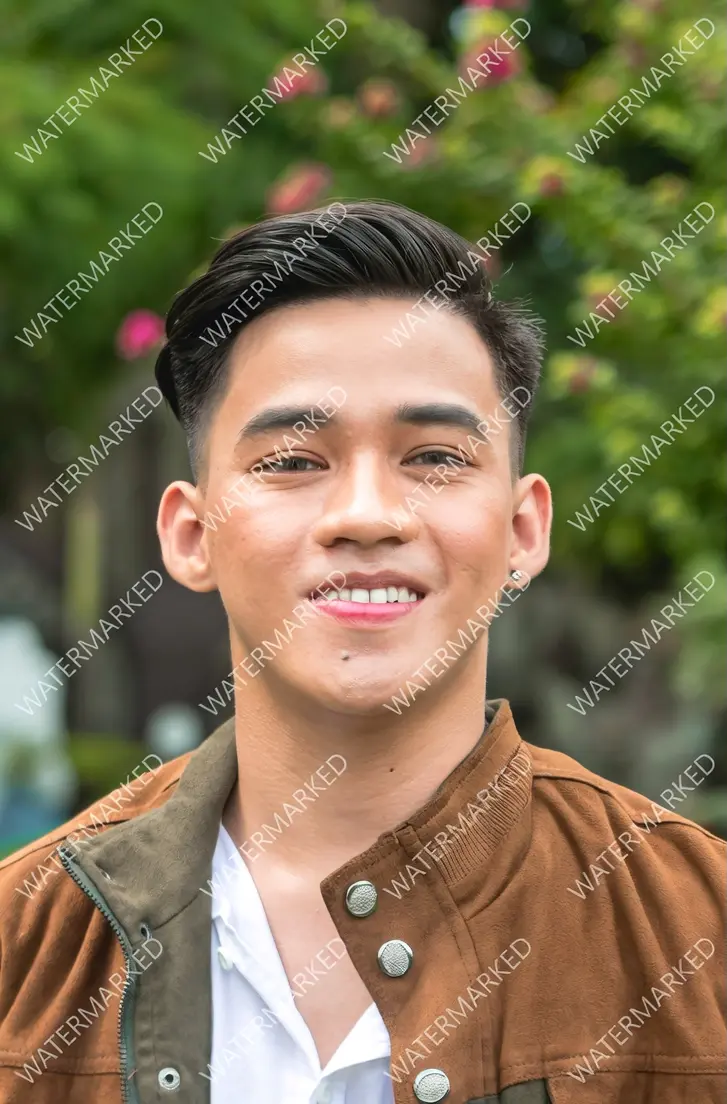
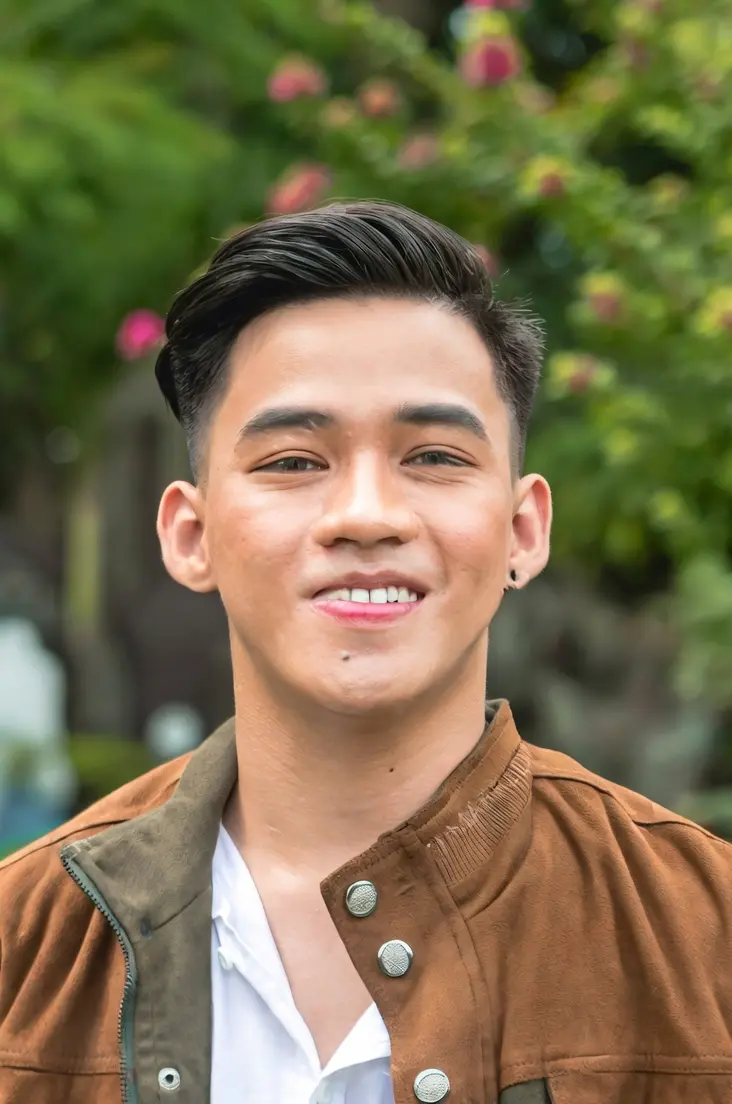
Generate Image Groups
| Input Image | Output Image |
|---|---|
 | 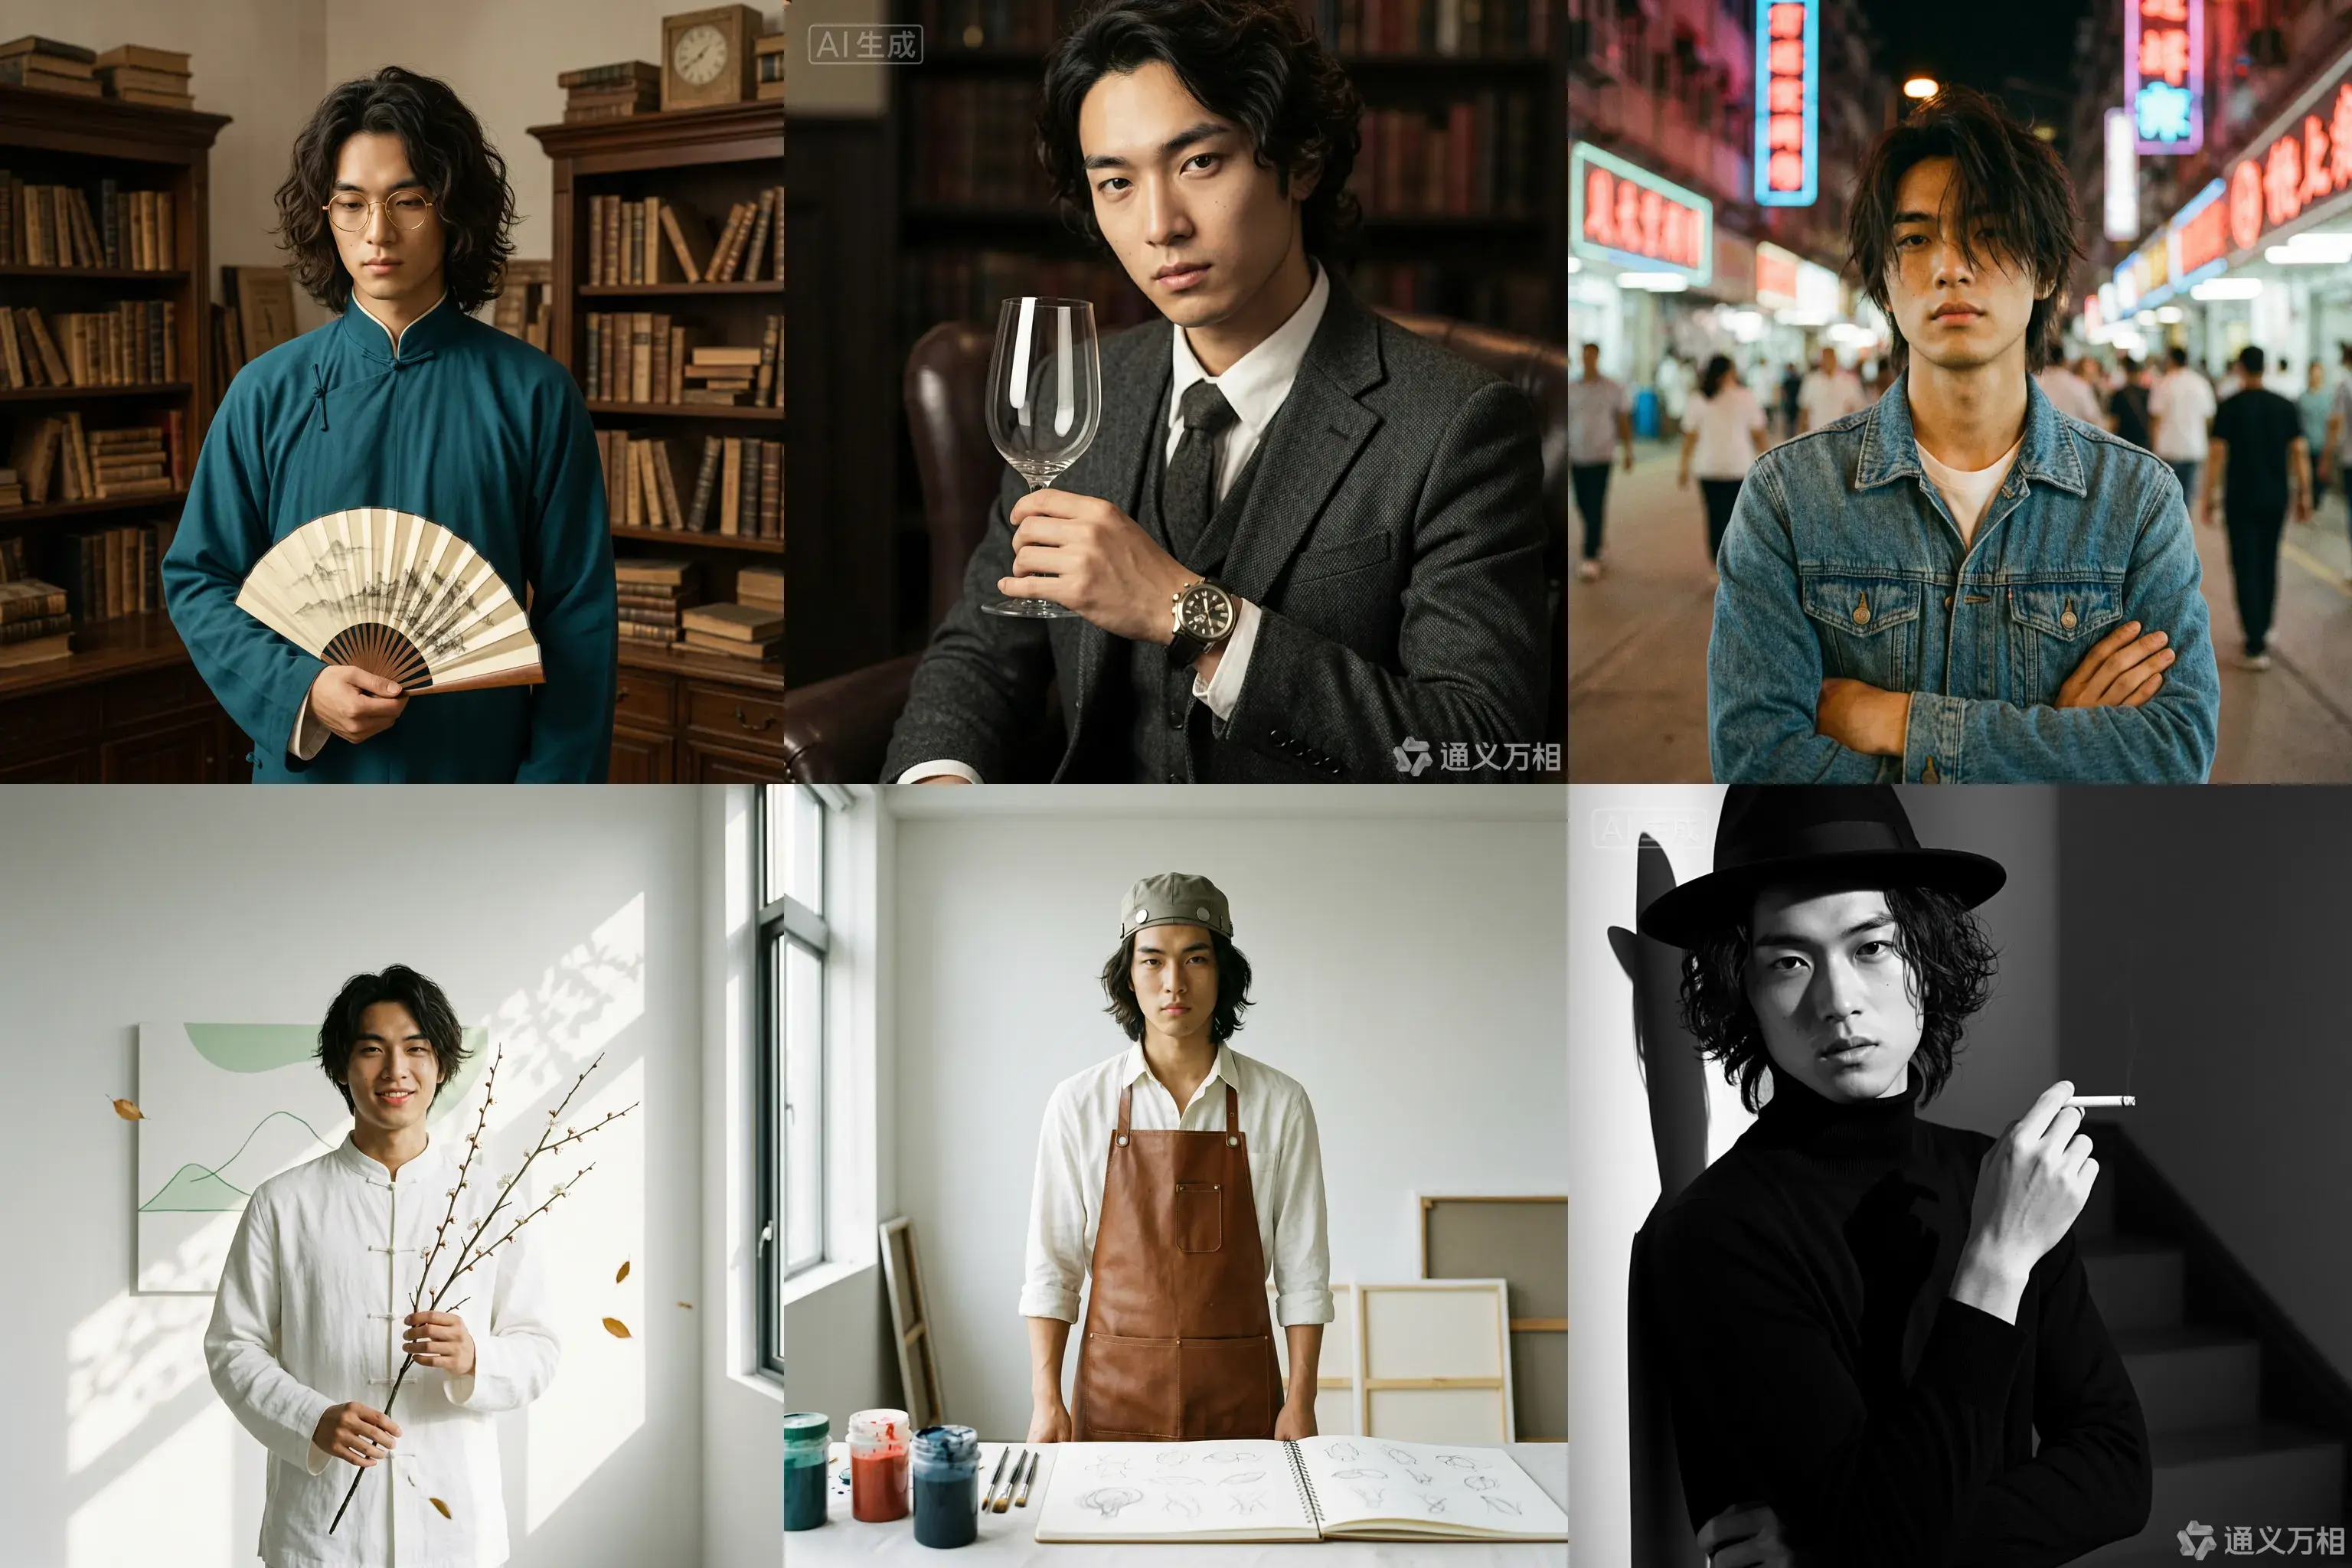 |
 | 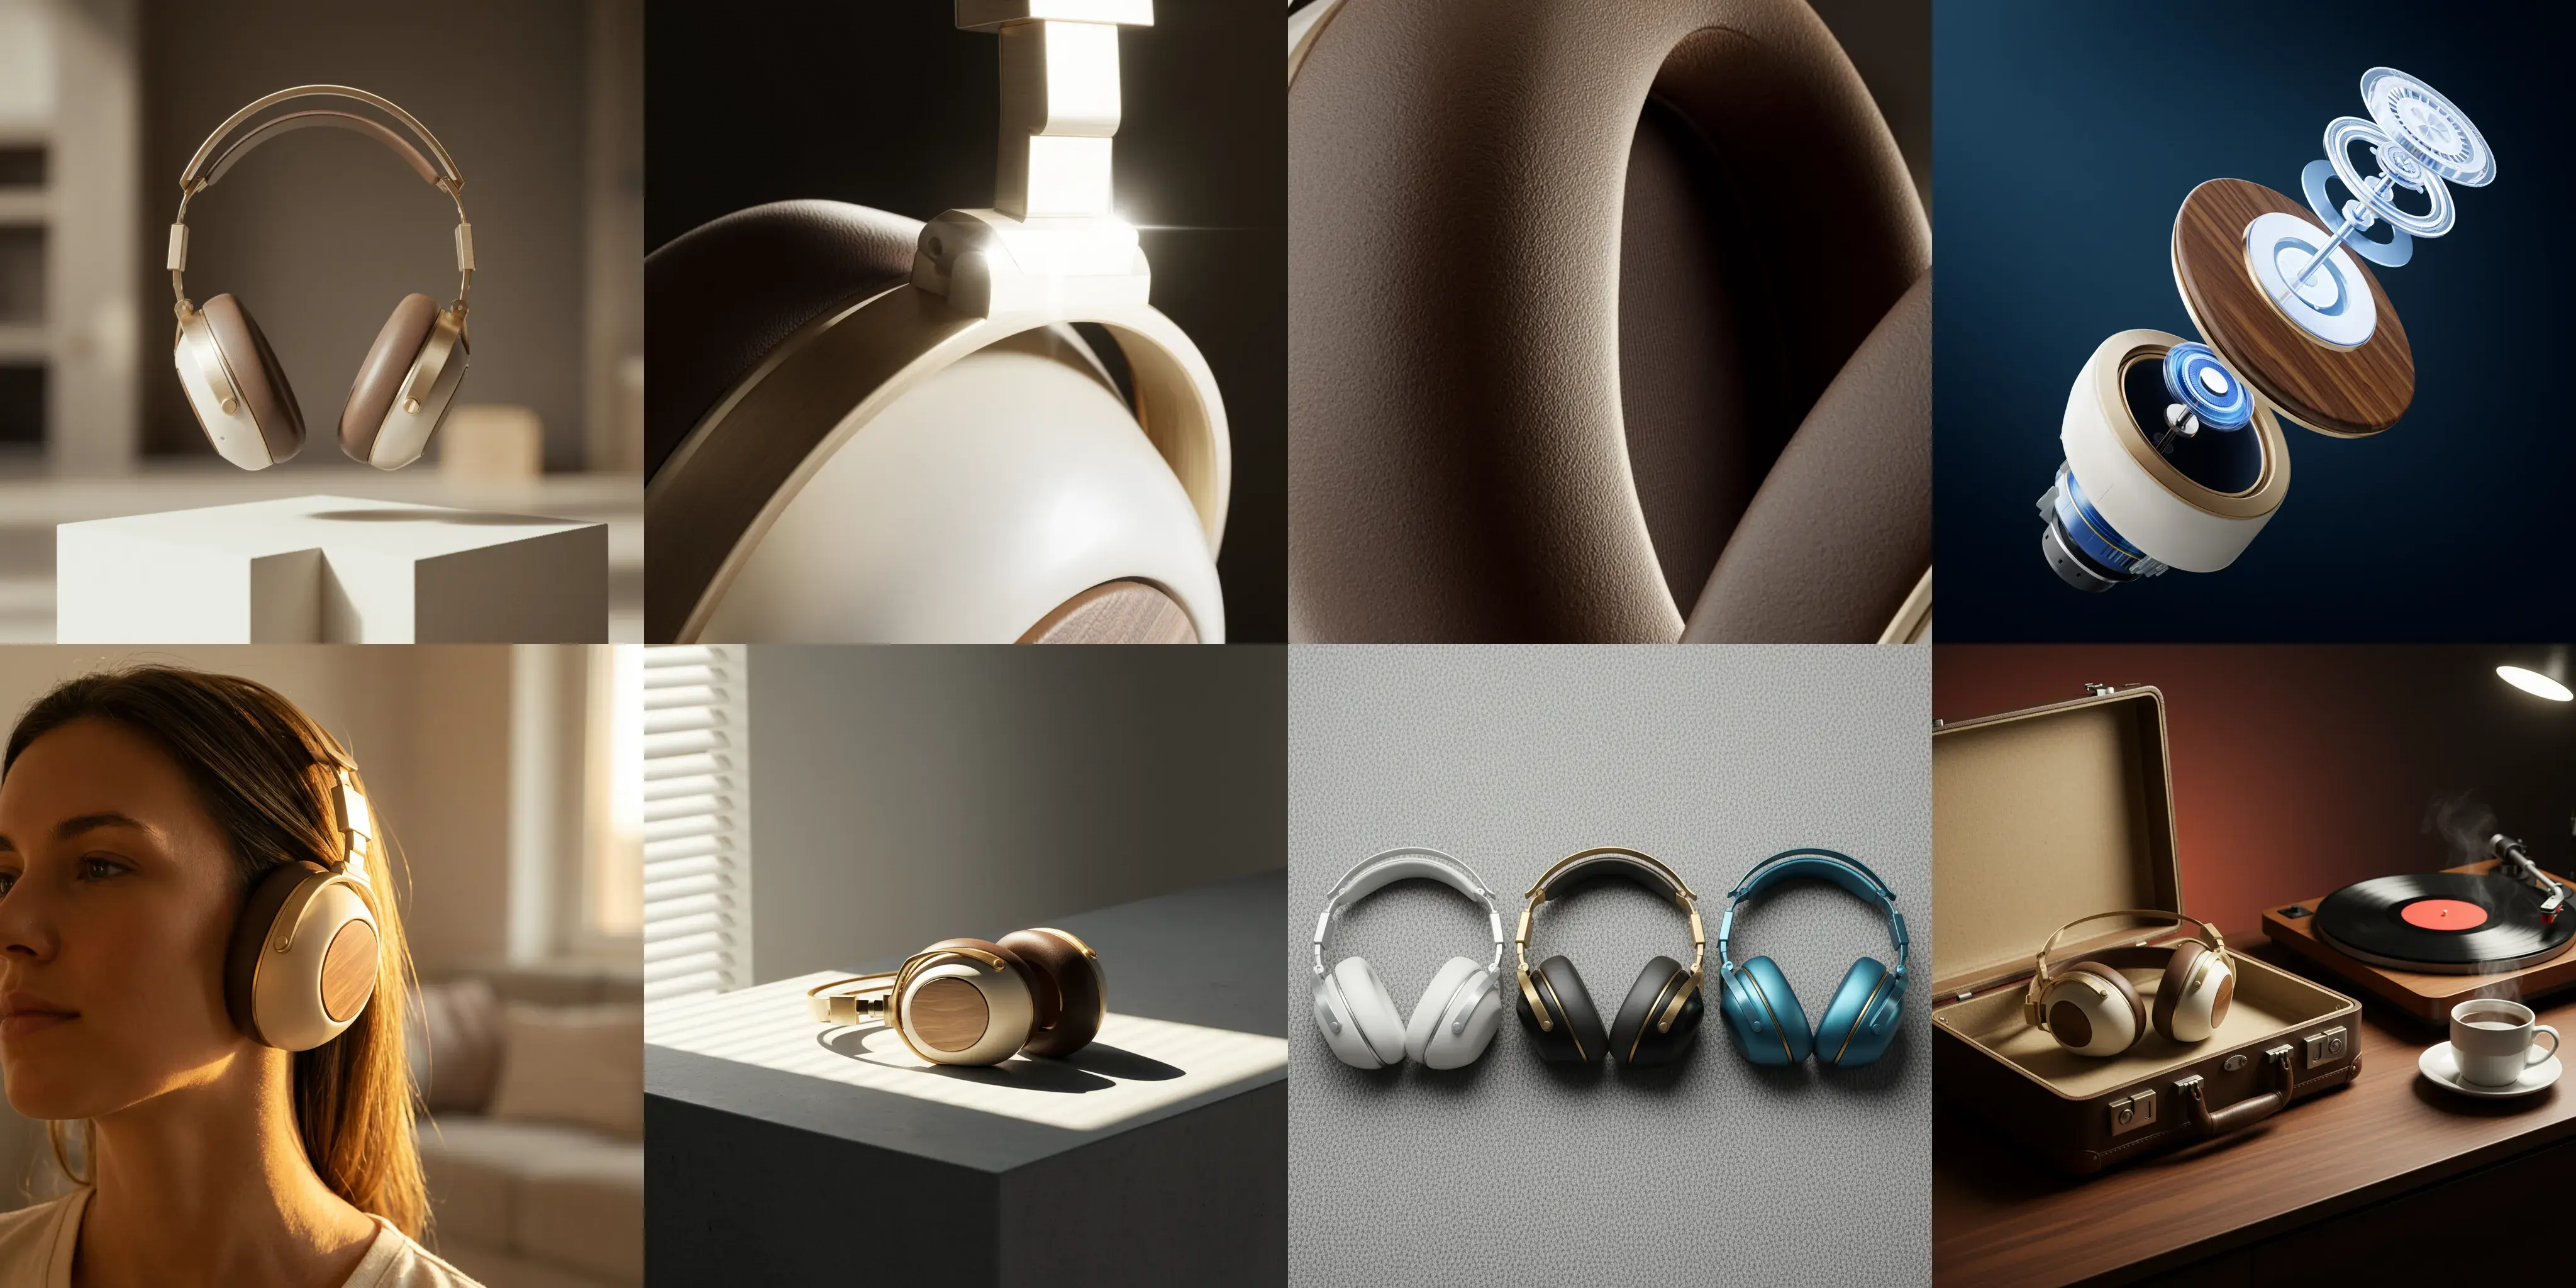 |
Click to view prompts
Click to view prompts
Case 1: PhotoshootCase 2: Visual design
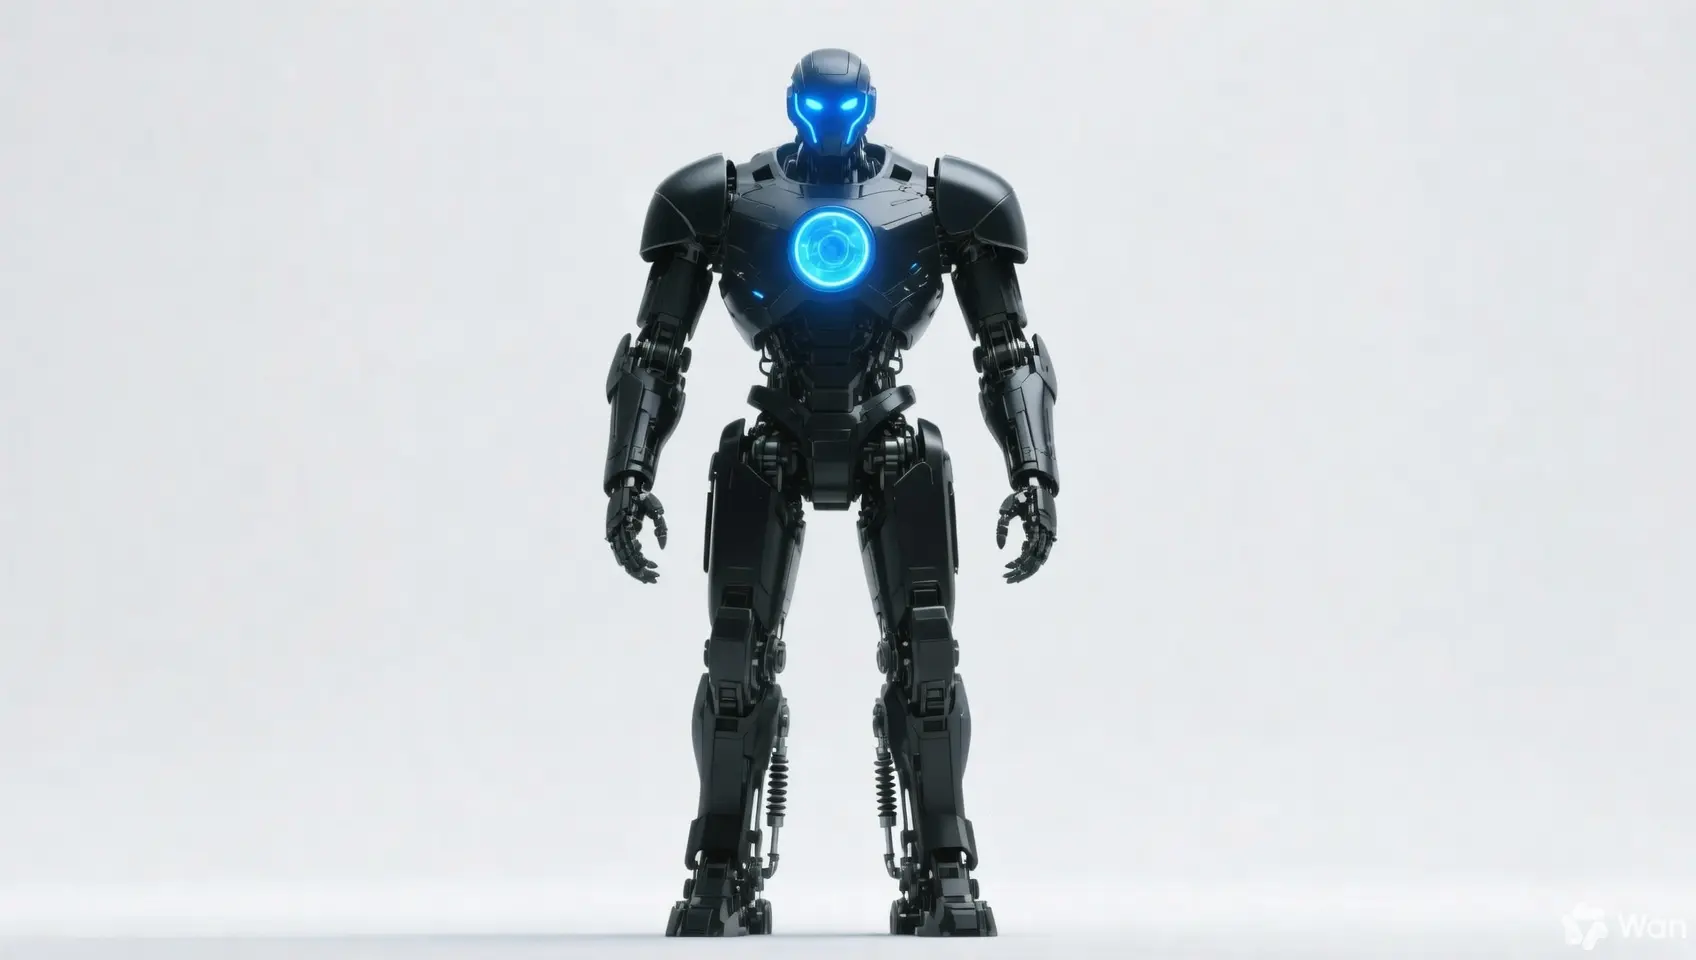
Multi-Image Fusion
| Input Image | Output Image |
|---|---|
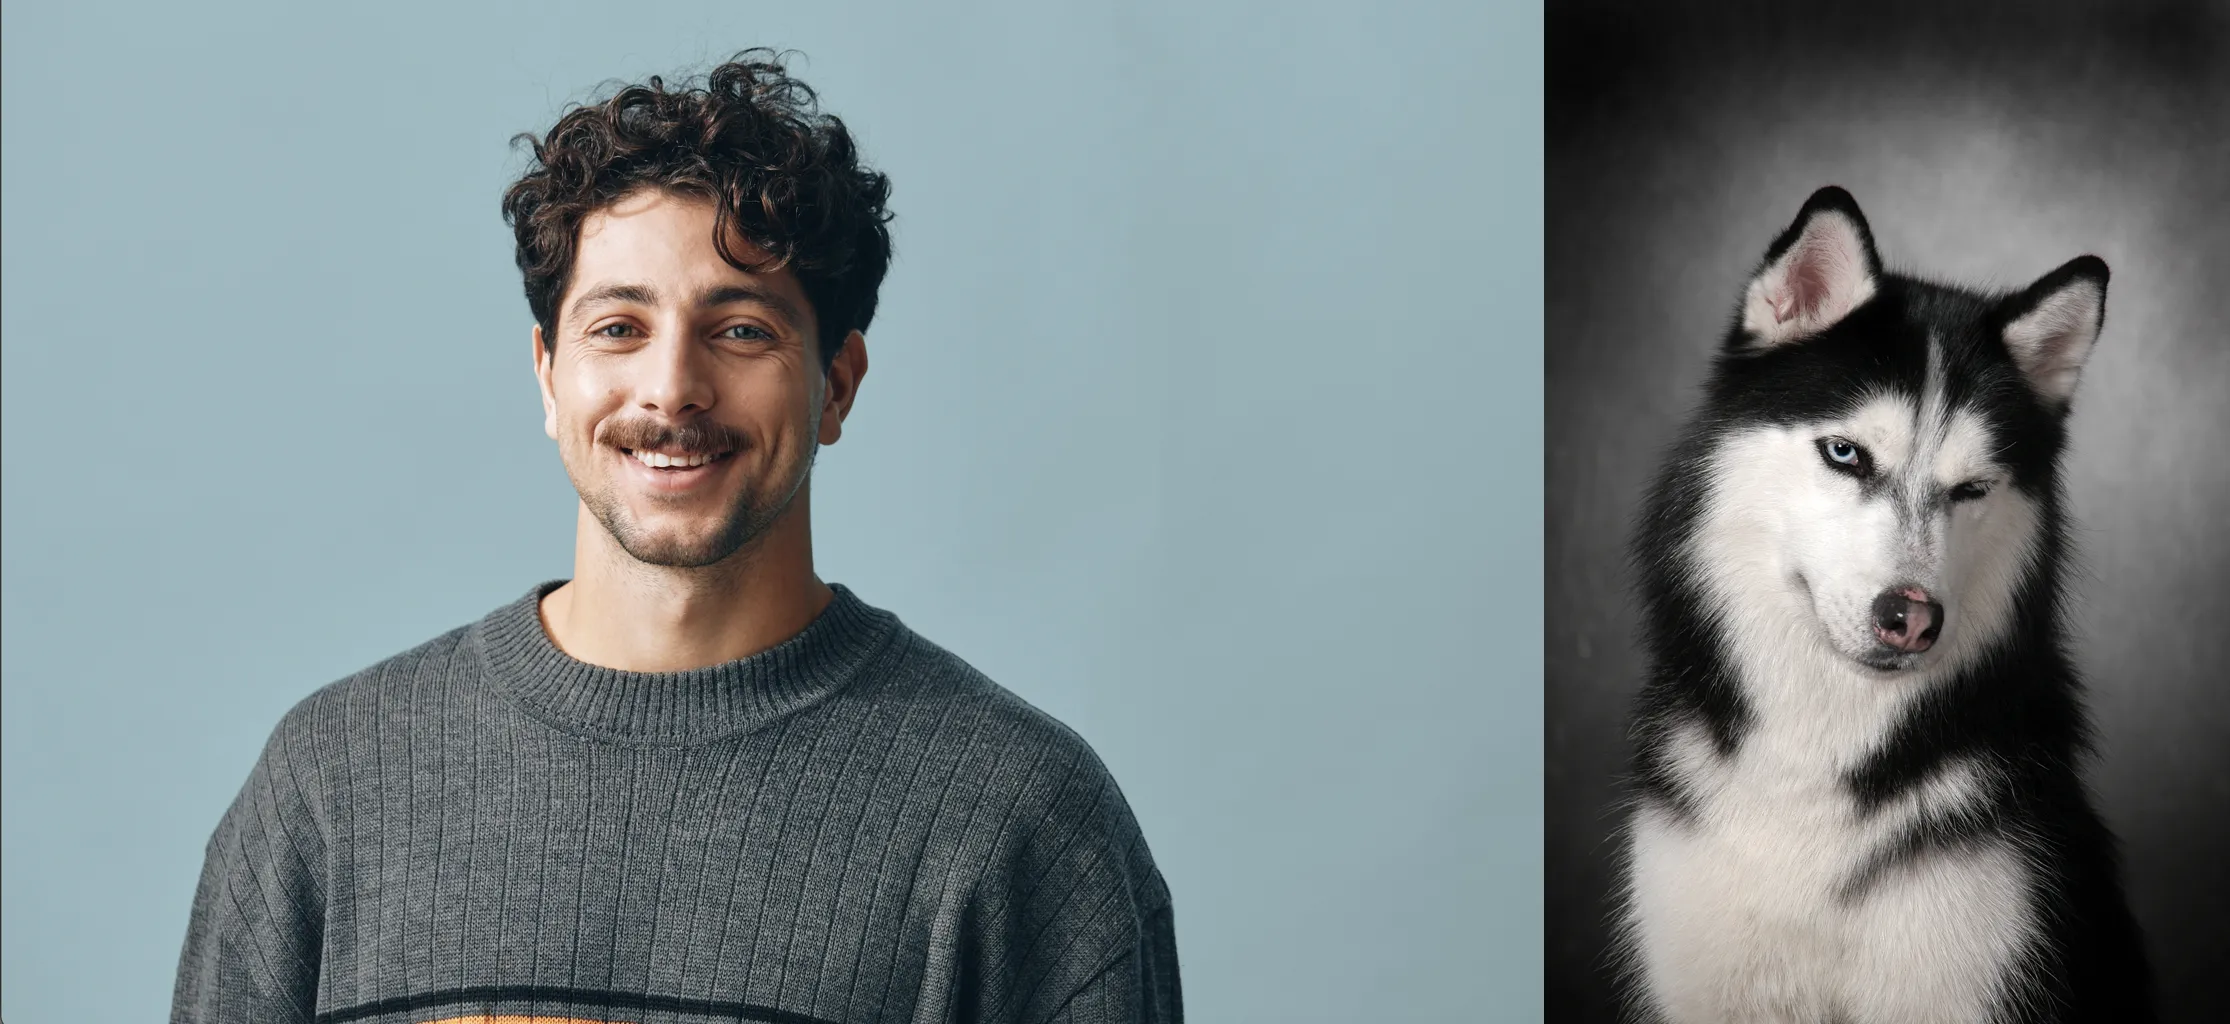 | 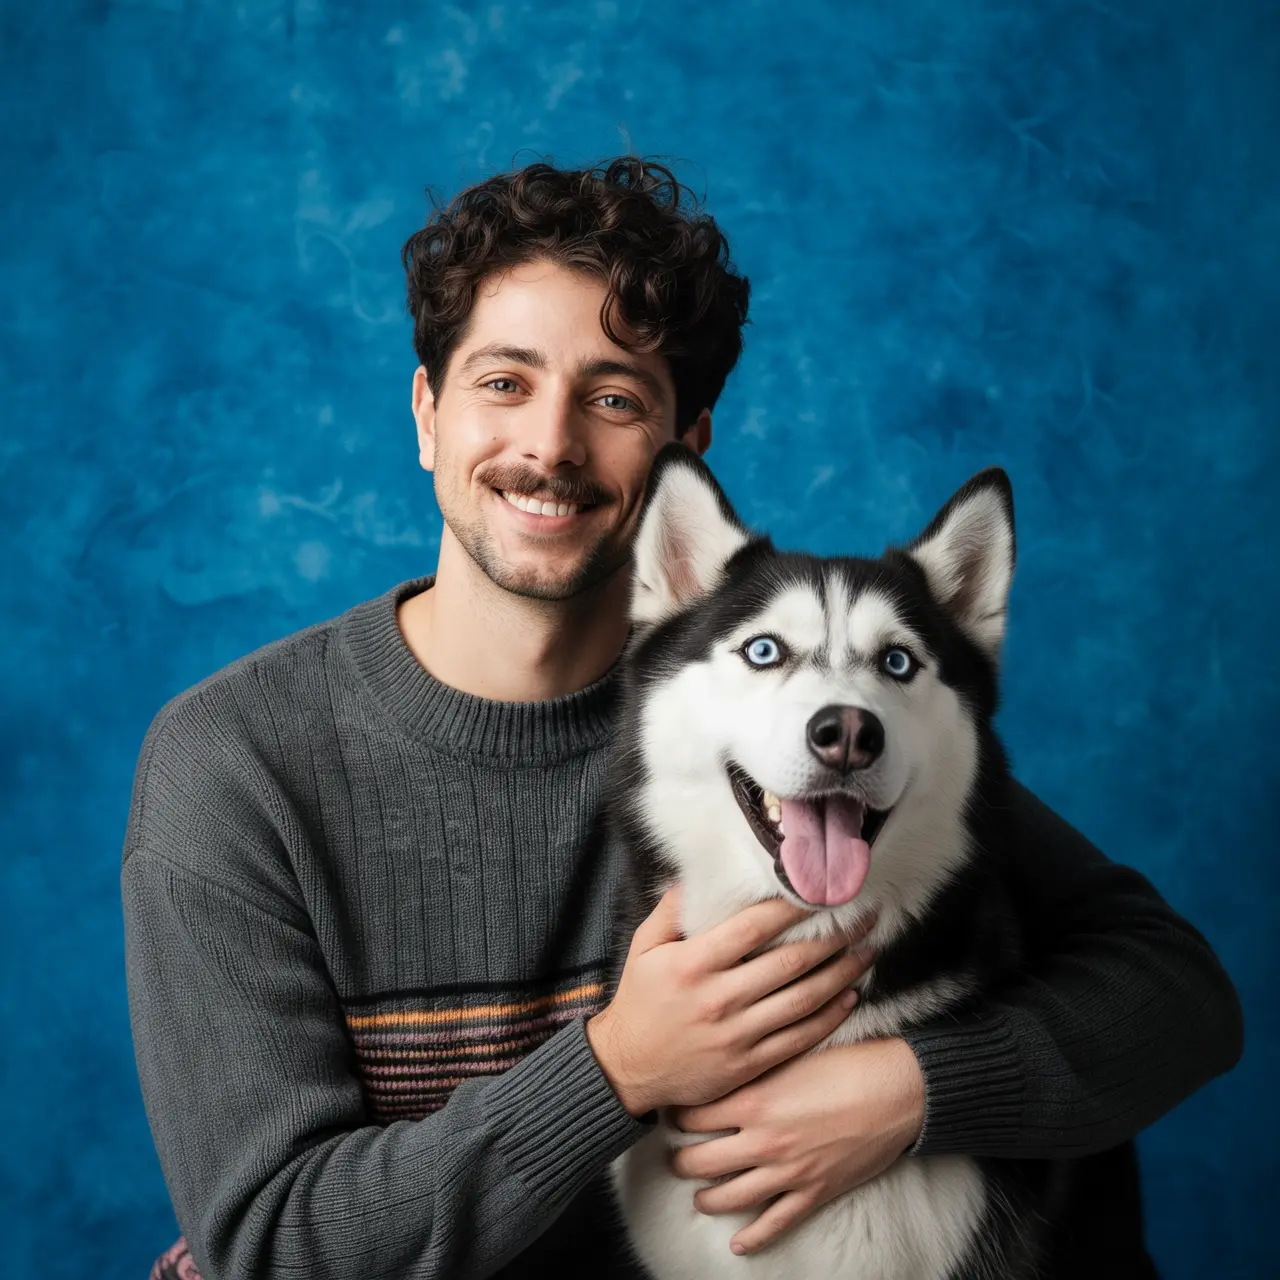 |
 |  |
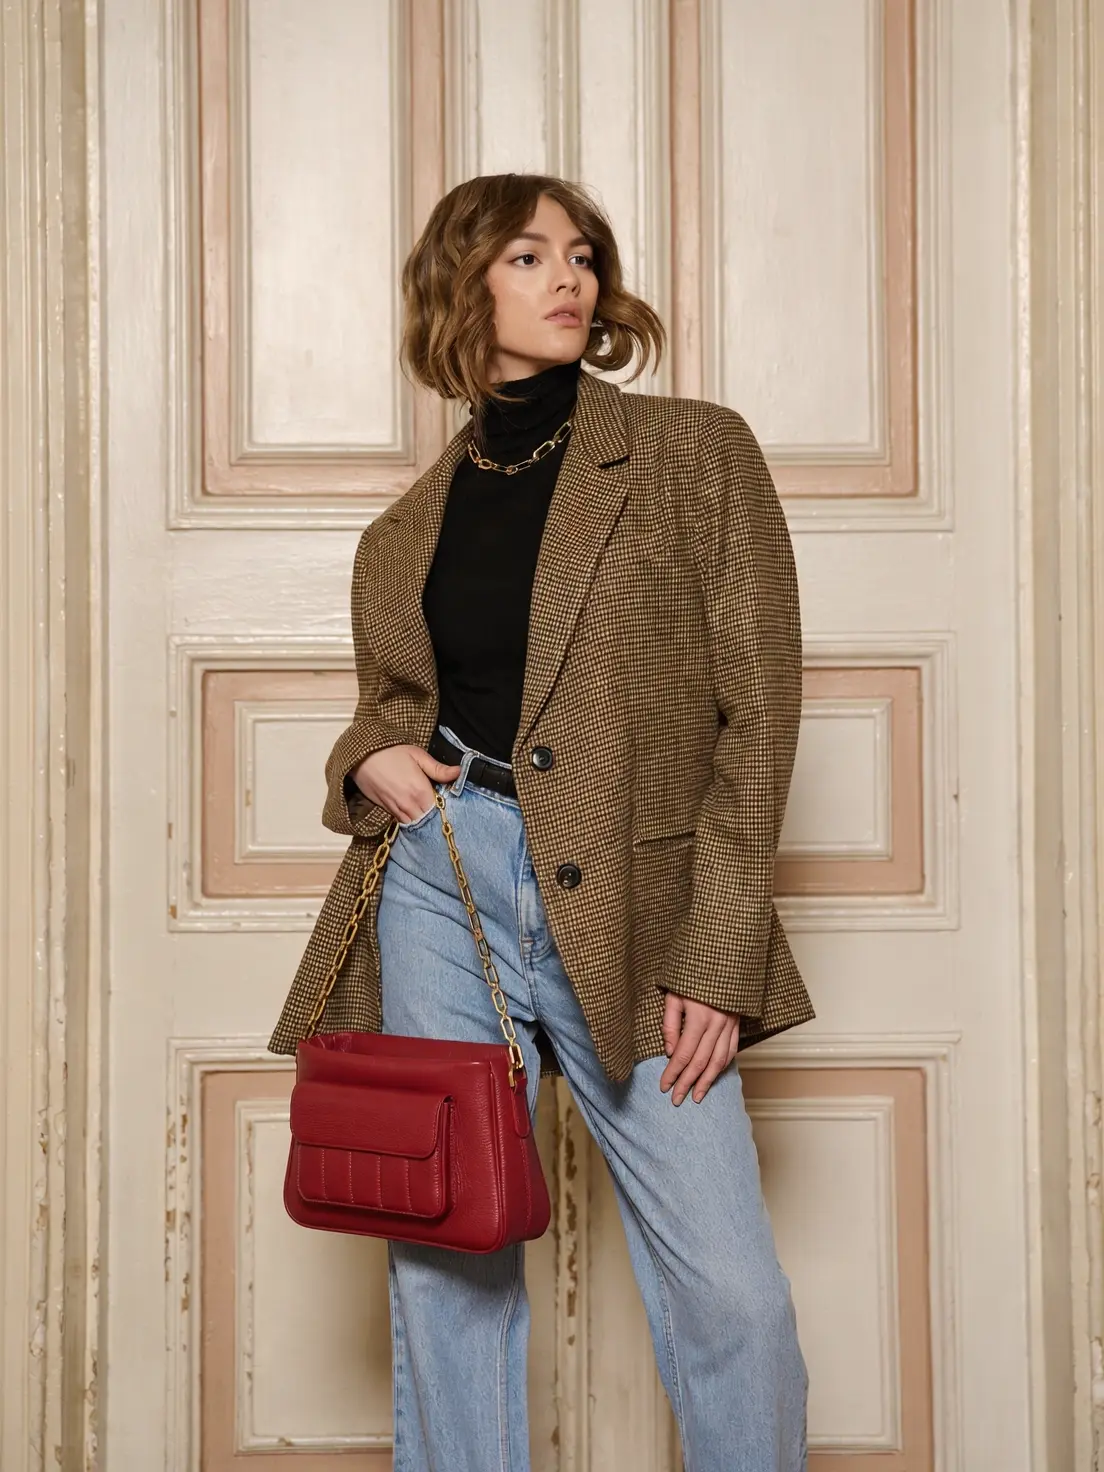
Subject Feature Preservation
| Input Image | Output Image |
|---|---|
 |  |
Detection and Segmentation
| Input Image | Output Image |
|---|---|
 | 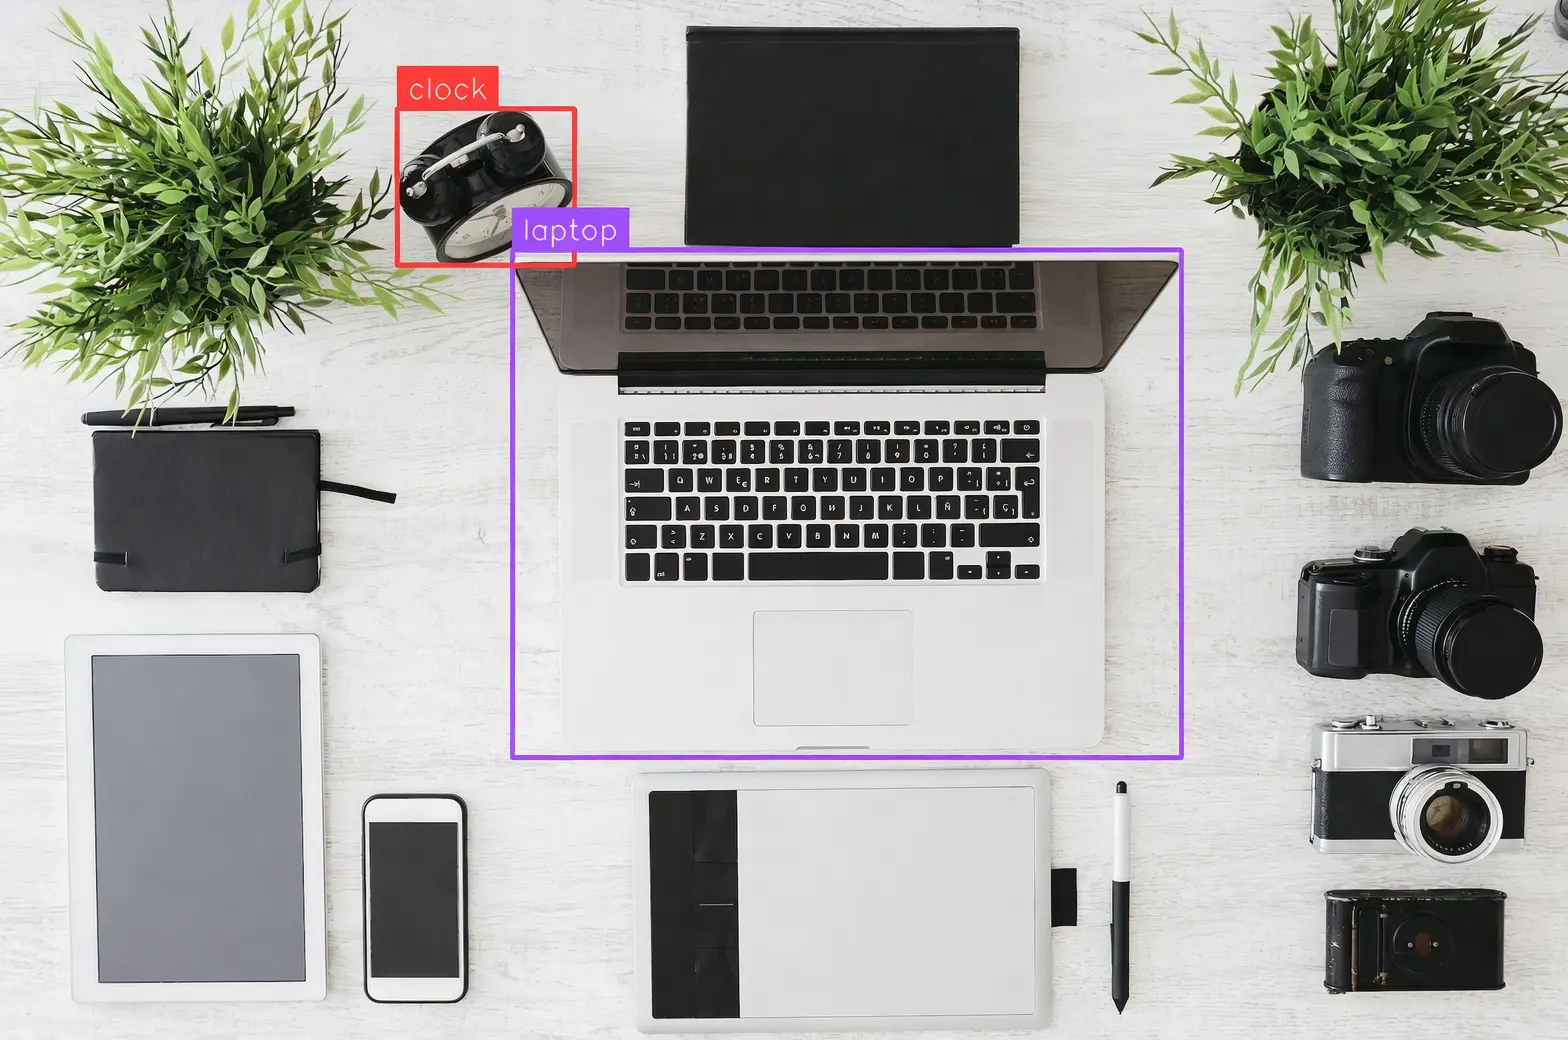 |
 |  |
Extract Elements
| Input Image | Output Image |
|---|---|
 |  |
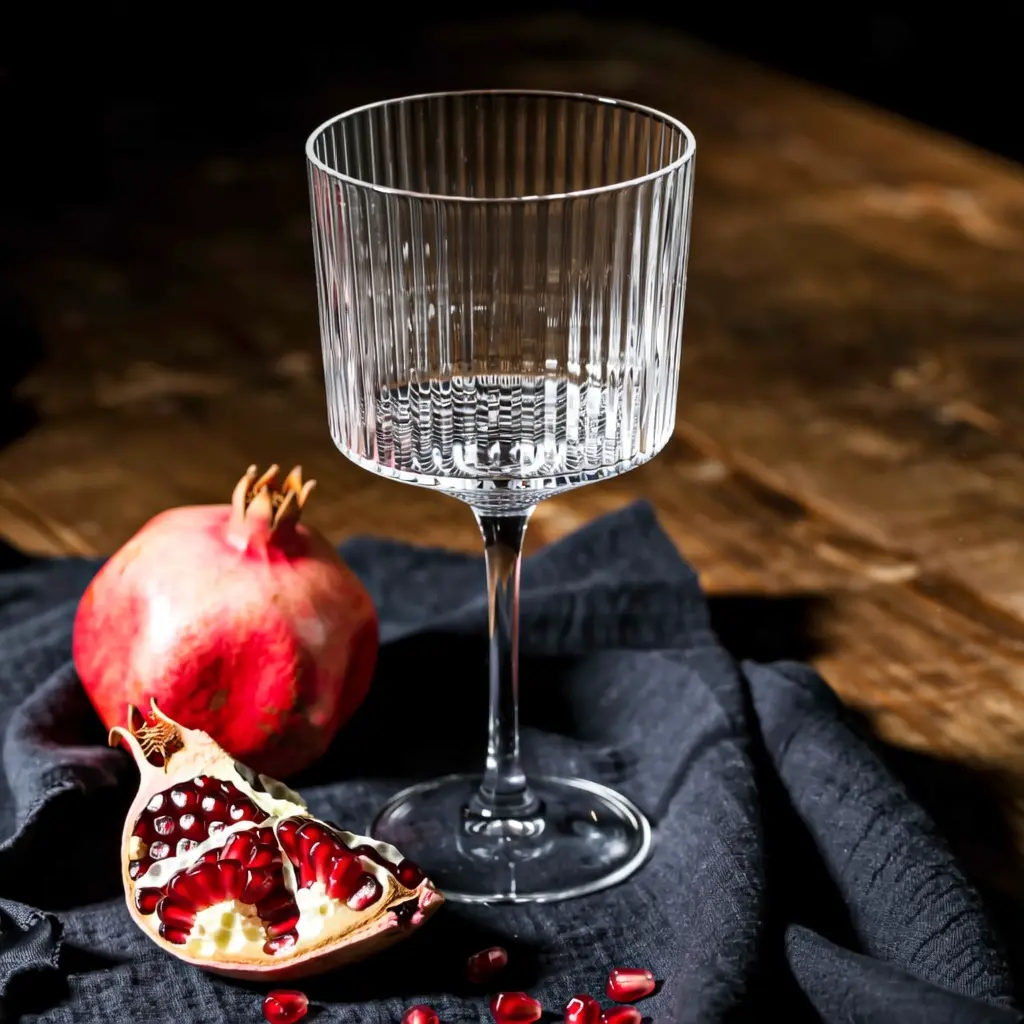
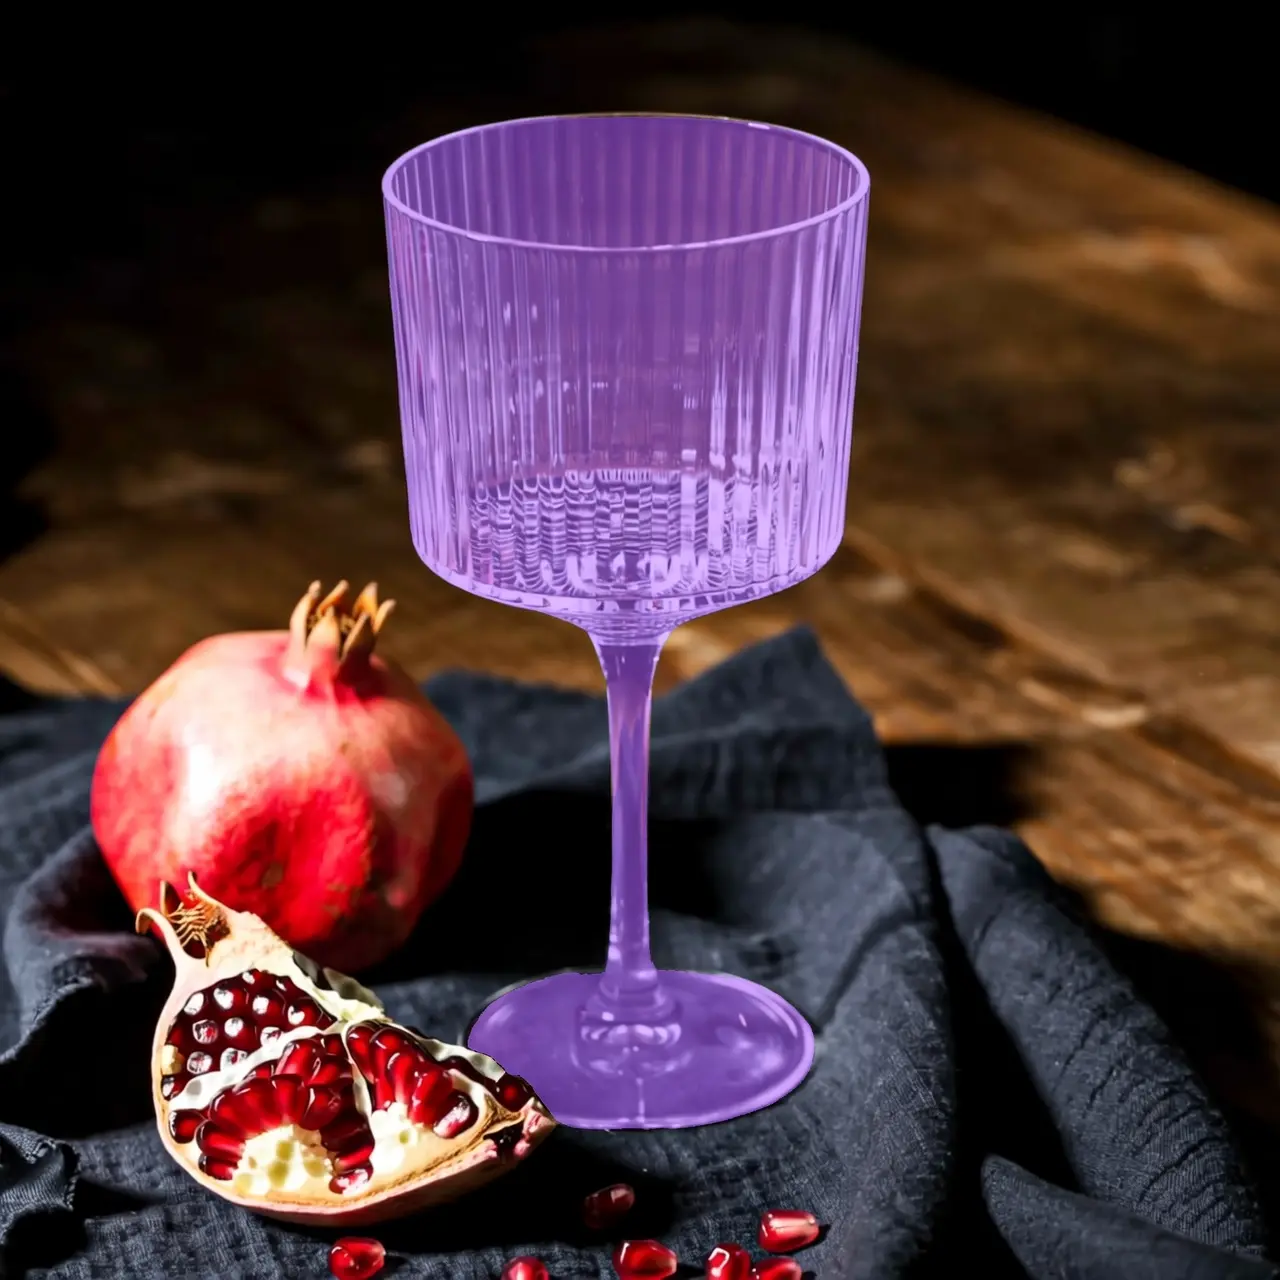
Text Editing
| Input Image | Output Image |
|---|---|
 |  |
 |  |
 |  |
Lens and Viewpoint Editing
| Input Image | Output Image |
|---|---|
 |  |
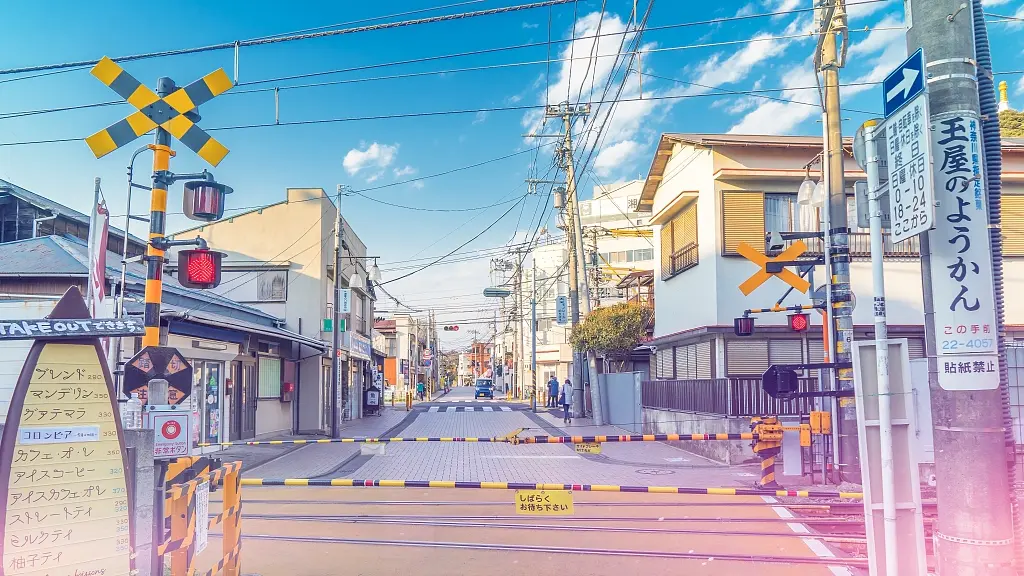 | 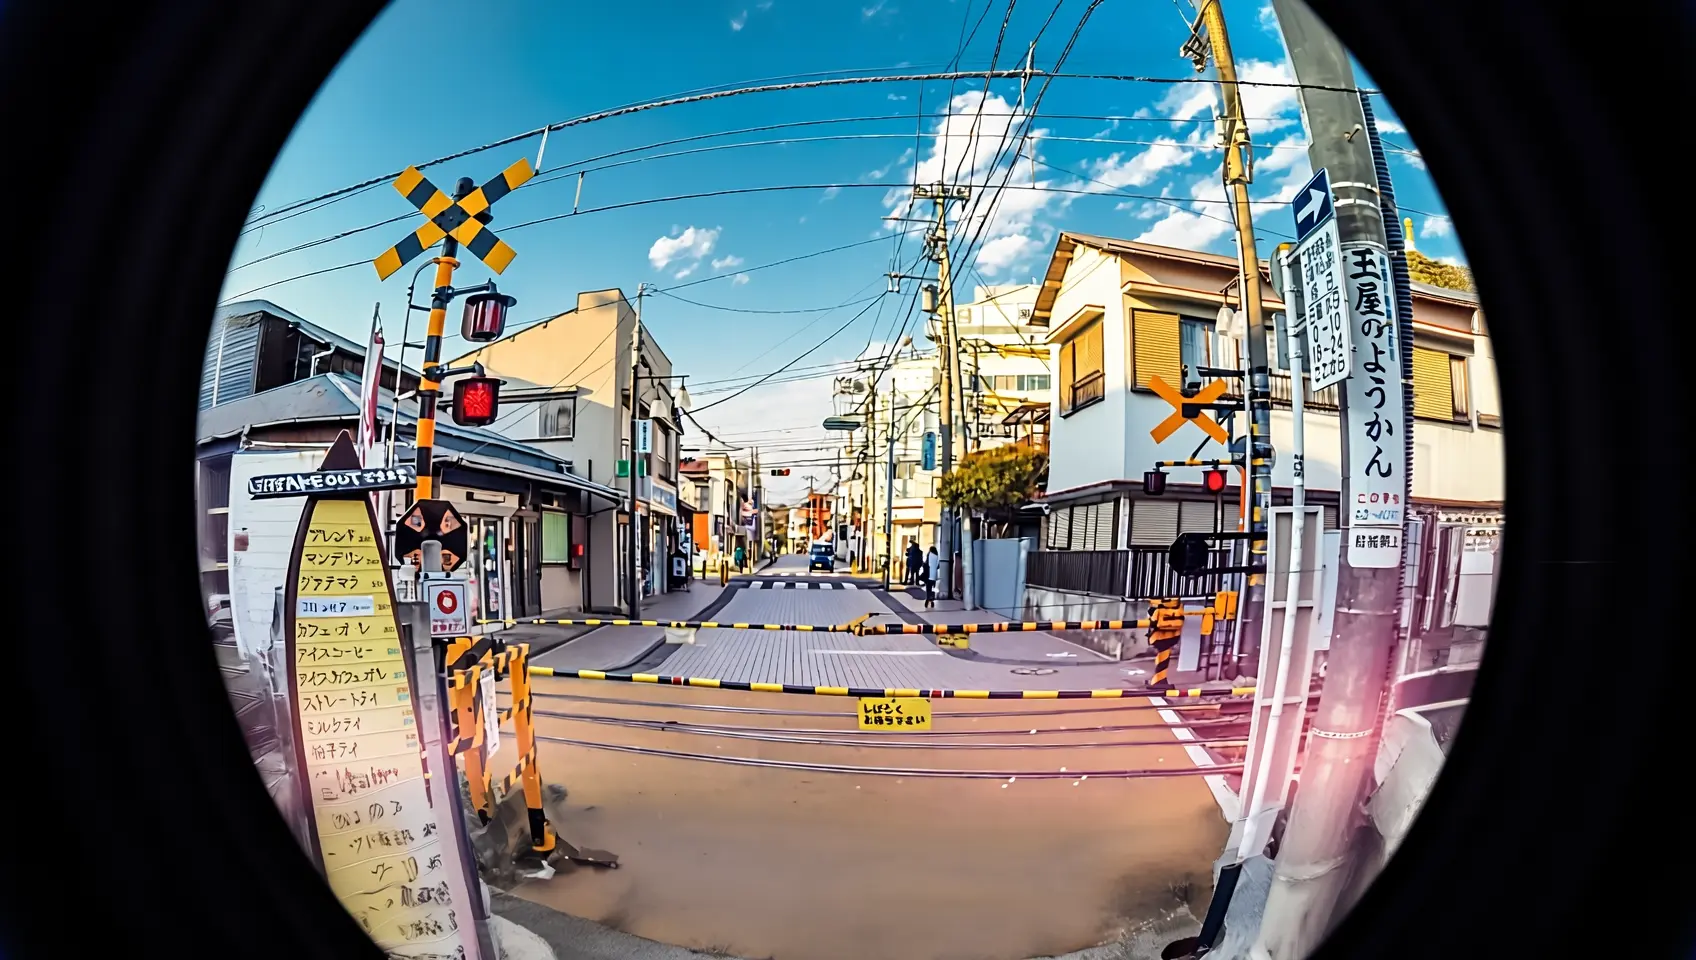 |
Input instructions
Input image specifications
| Specification | wan2.7-image-pro, wan2.7-image | wan2.6-image | wan2.5-i2i-preview |
|---|---|---|---|
| Number of input images | 0 to 9 (0 for text-to-image mode) | Image editing: 1 to 4 / Mixed media: 0 to 1 | 1 to 3 |
| Image format | JPEG, JPG, PNG (alpha channel not supported), BMP, WEBP | JPEG, JPG, PNG (alpha channel not supported), BMP, WEBP | JPEG, JPG, PNG (alpha channel not supported), BMP, WEBP |
| Image dimensions | [240, 8000] pixels | [240, 8000] pixels | [384, 5000] pixels |
| File size | ≤ 20 MB | ≤ 10 MB | ≤ 10 MB |
| Aspect ratio | [1:8, 8:1] | No limit | [1:4, 4:1] |
Image input order
| Input image 1 | Input image 2 | Output image | |
|---|---|---|---|
 | 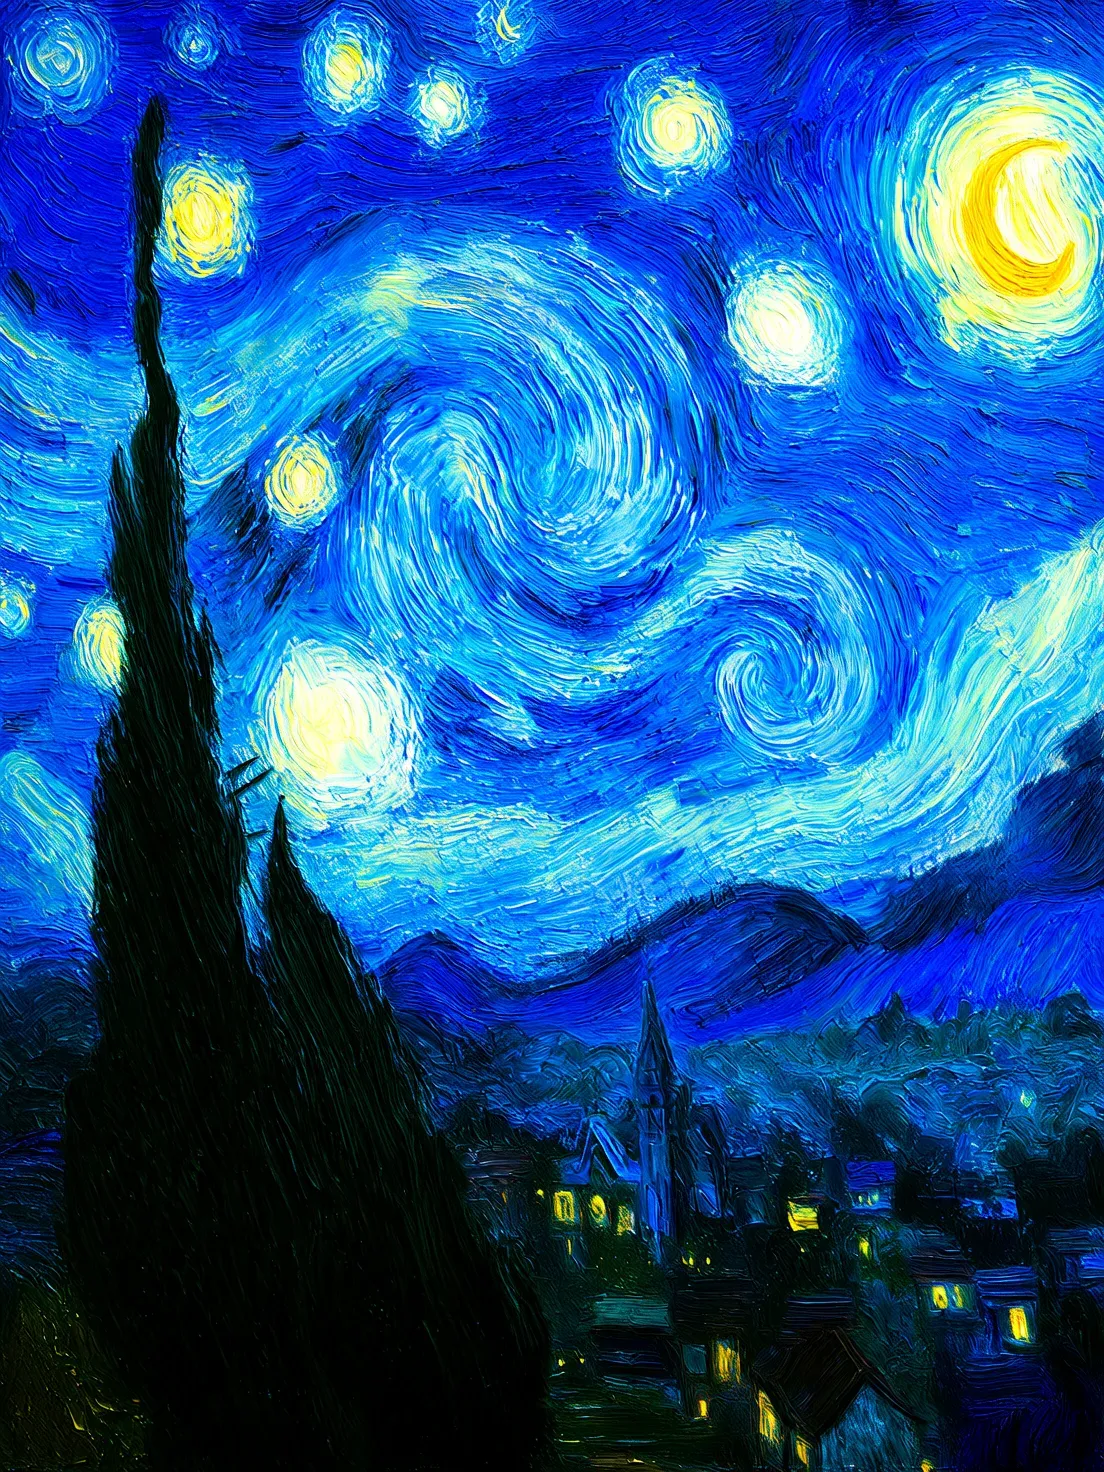 | 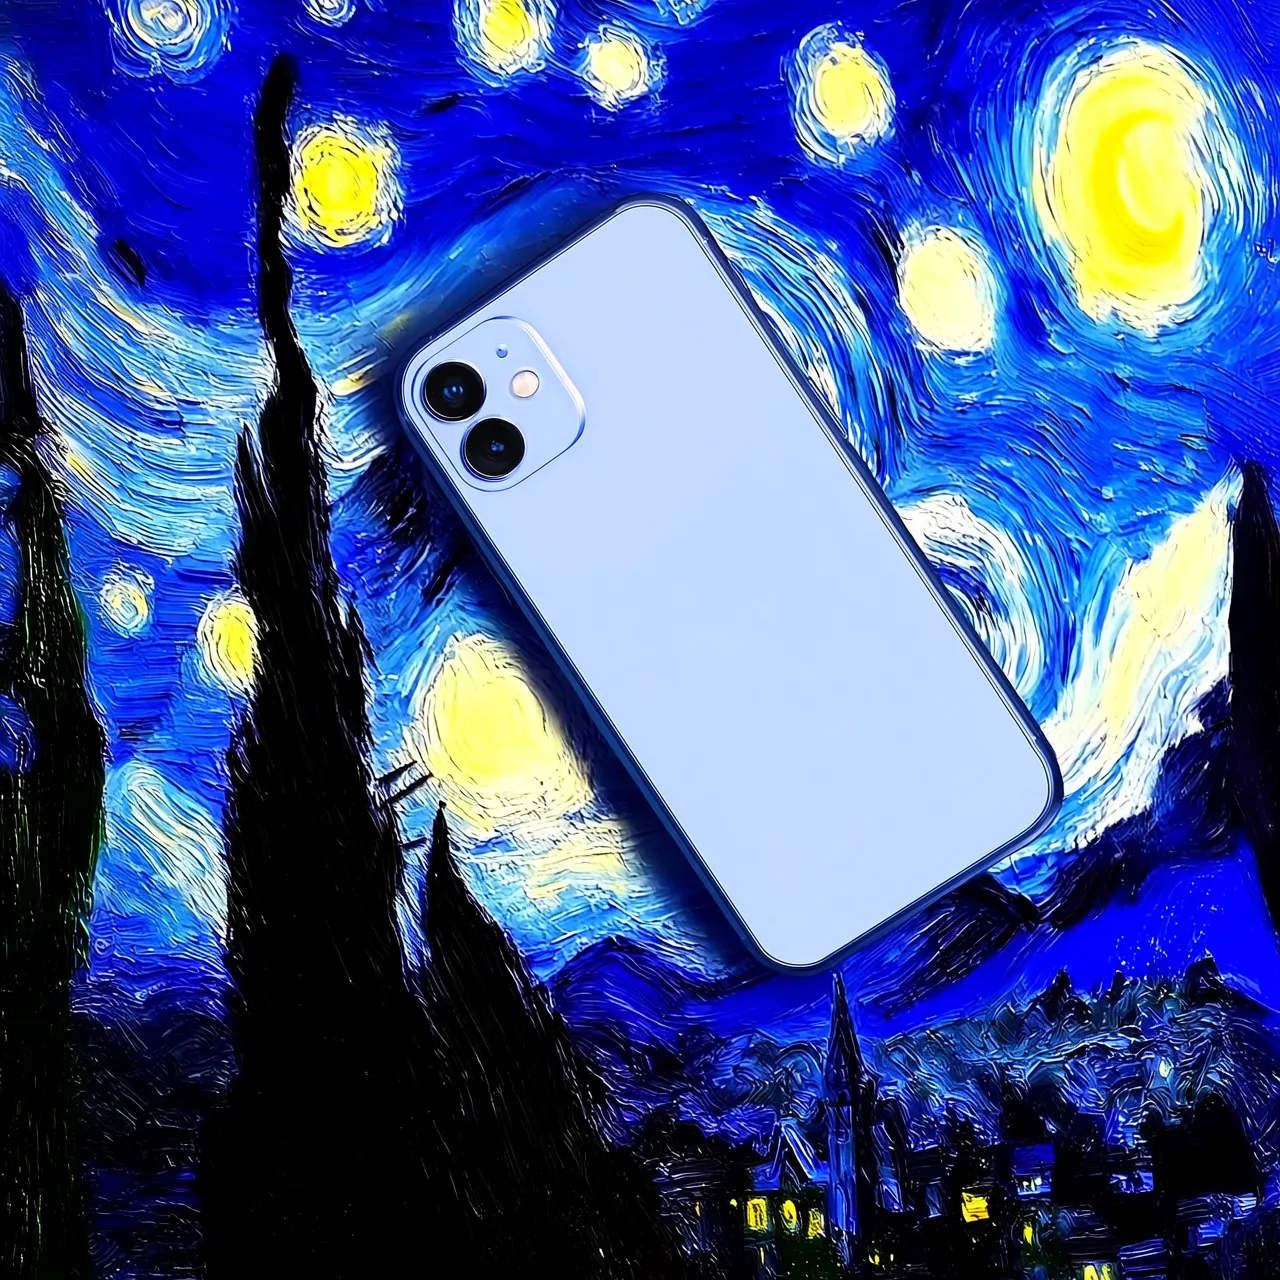 | 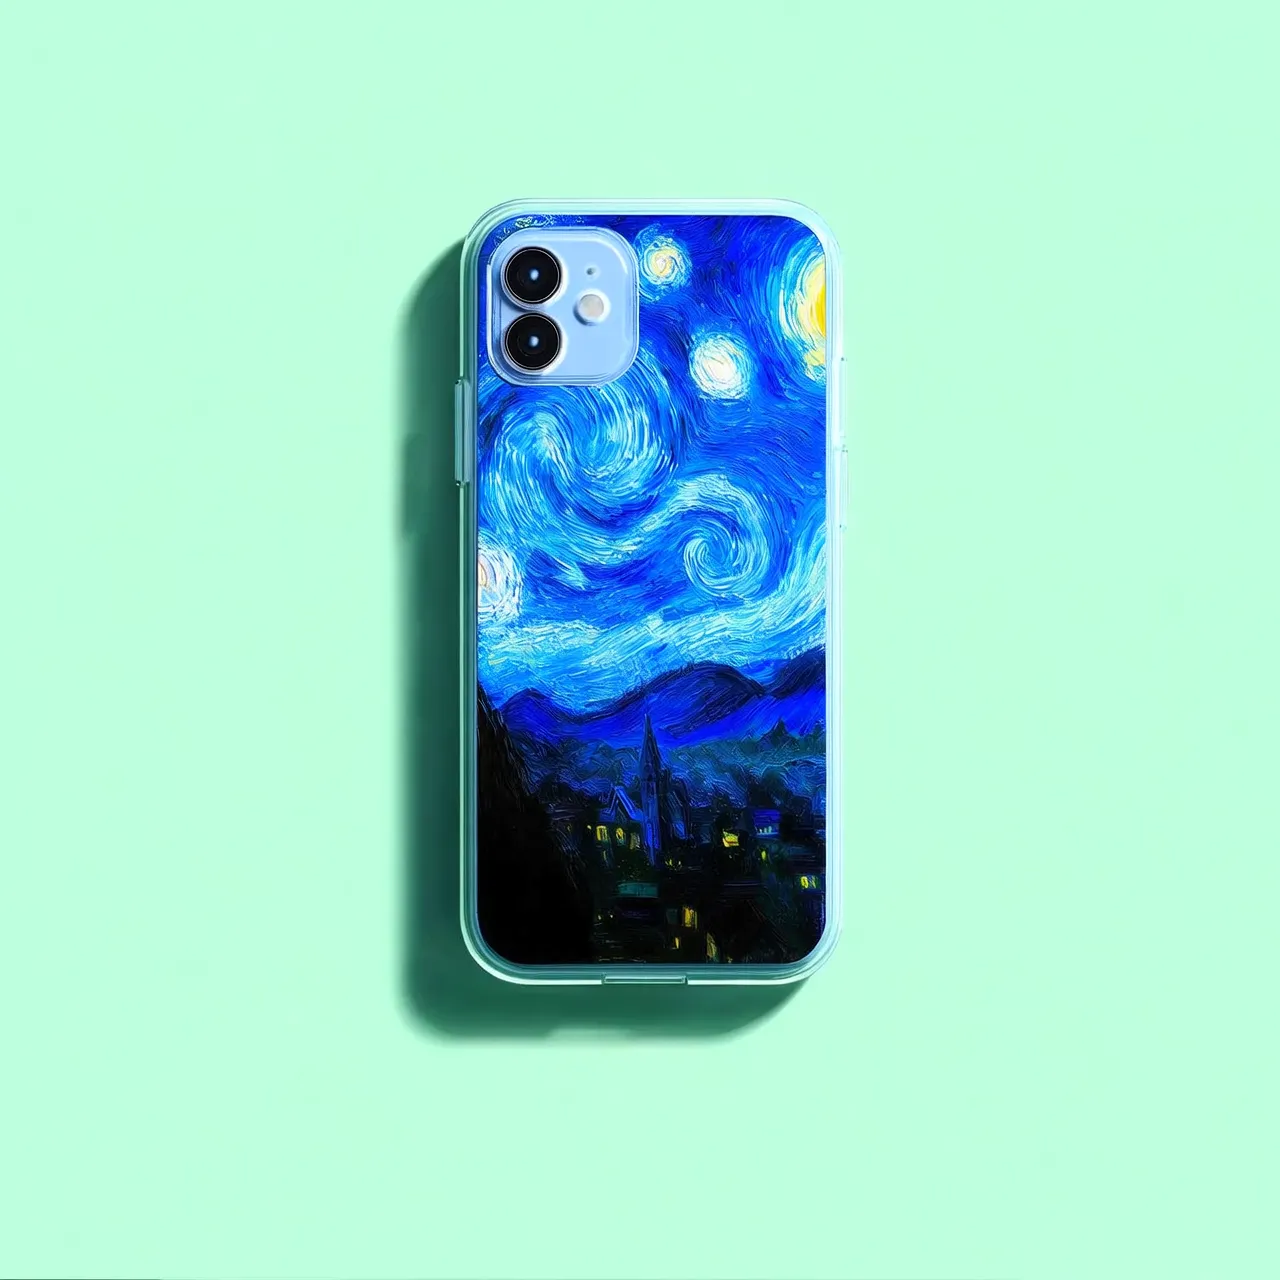 |
Methods for providing images
Provide images in the following ways:
Method 1: Public URL
Method 1: Public URL
Method 2: Base64 encoding
Method 2: Base64 encoding
Method 3: Local file path (SDK only)
Method 3: Local file path (SDK only)
Key capabilities
1. Instruction following (prompts)
The parameters are messages.content.text or input.prompt (required), and negative_prompt (optional).
| Parameter | wan2.7-image-pro, wan2.7-image | wan2.6-image | wan2.5-i2i-preview |
|---|---|---|---|
| text | Required, up to 5000 characters | Required, up to 2000 characters | Not supported |
| prompt | Not supported | Not supported | Required, up to 2000 characters |
| negative_prompt | Not supported | Supported, up to 500 characters | Supported, up to 500 characters |
2. Enable prompt rewriting
The parameter is parameters.prompt_extend (bool, default true ).
This feature automatically expands and optimizes short prompts to improve output image quality. However, enabling it adds extra processing time.
| Parameter | wan2.7-image-pro, wan2.7-image | wan2.6-image | wan2.5-i2i-preview |
|---|---|---|---|
| prompt_extend | Not supported | Supported (edit mode only) | Supported |
3. Set output image resolution
The parameter is parameters.size (string), formatted as "width*height" .
| Parameter | wan2.7-image-pro, wan2.7-image | wan2.6-image | wan2.5-i2i-preview |
|---|---|---|---|
| size | Option 1: Specify output resolution (recommended) In edit mode (at least one input image provided), choose from these resolution presets: 1K , 2K (default). 1K : Output has approximately 1024×1024 total pixels, preserving the aspect ratio of the last input image. 2K : Output has approximately 2048×2048 total pixels, preserving the aspect ratio of the last input image. Option 2: Specify exact width and height in pixels Total pixels must be between 768×768 and 2048×2048, with an aspect ratio between 1:8 and 8:1. Only wan2.7-image-pro in text-to-image scenarios supports 4K resolution. | Option 1: Match input image aspect ratio (recommended) In edit mode ( enable_interleave=false ), choose from these resolution presets: 1K (default), 2K . 1K : Output has approximately 1280×1280 total pixels, preserving the aspect ratio of the last input image. 2K : Output has approximately 2048×2048 total pixels, preserving the aspect ratio of the last input image. Option 2: Specify exact width and height in pixels Total pixels must be between 768×768 and 2048×2048, with an aspect ratio between 1:4 and 4:1. The pixel value of the actual output image is a multiple of 16 that is closest to the specified value. | Only exact width and height in pixels are supported Total pixels must be between 768×768 and 1280×1280, with an aspect ratio between 1:4 and 4:1. If you do not specify size , the system generates an image with a total of 1280*1280 pixels by default, with the same aspect ratio as the last input image. |
4. Interactive precise editing
You can use the parameters.bbox_list parameter to define interactive editing regions. The format is List[List[List[int]]] . This lets you select specific objects or areas in the image for more accurate edits. Only wan2.7-image-pro and wan2.7-image support this feature.
For example, if the input includes 3 images, and Image 2 has no selections while Image 1 has two selections, you would use the following:
Billing and Rate Limits
- For free quota and pricing details, see Pricing.
- For rate limit details, see Rate Limits.
-
Billing details: You are billed for each successfully generated image. Charges are incurred only when the API returns a
task_statusofSUCCEEDEDand an image is generated. You are not charged for failed calls or processing errors, and they do not consume your free quota.